Last year, I looked in the mirror and was quite disappointed by the violet Cycling Sweater I finished a couple of months before. Do you know those projects that you completed and were actually pretty proud of the result, but over time a few things stand out that could just be better? This Cycling Sweater is one such project for me. Unfortunately it did end up being too big and due to the binding also too stretchy. Furthermore, I didn’t consider that my shoulders aren’t as wide as my chest is, and the original pattern did not account for that.
As a result, the shoulders are very wide, and the heavy sleeves pull them down even more. I still like the sweater very much, but it should be worn with a corset or just for a couple of hours without moving that much.

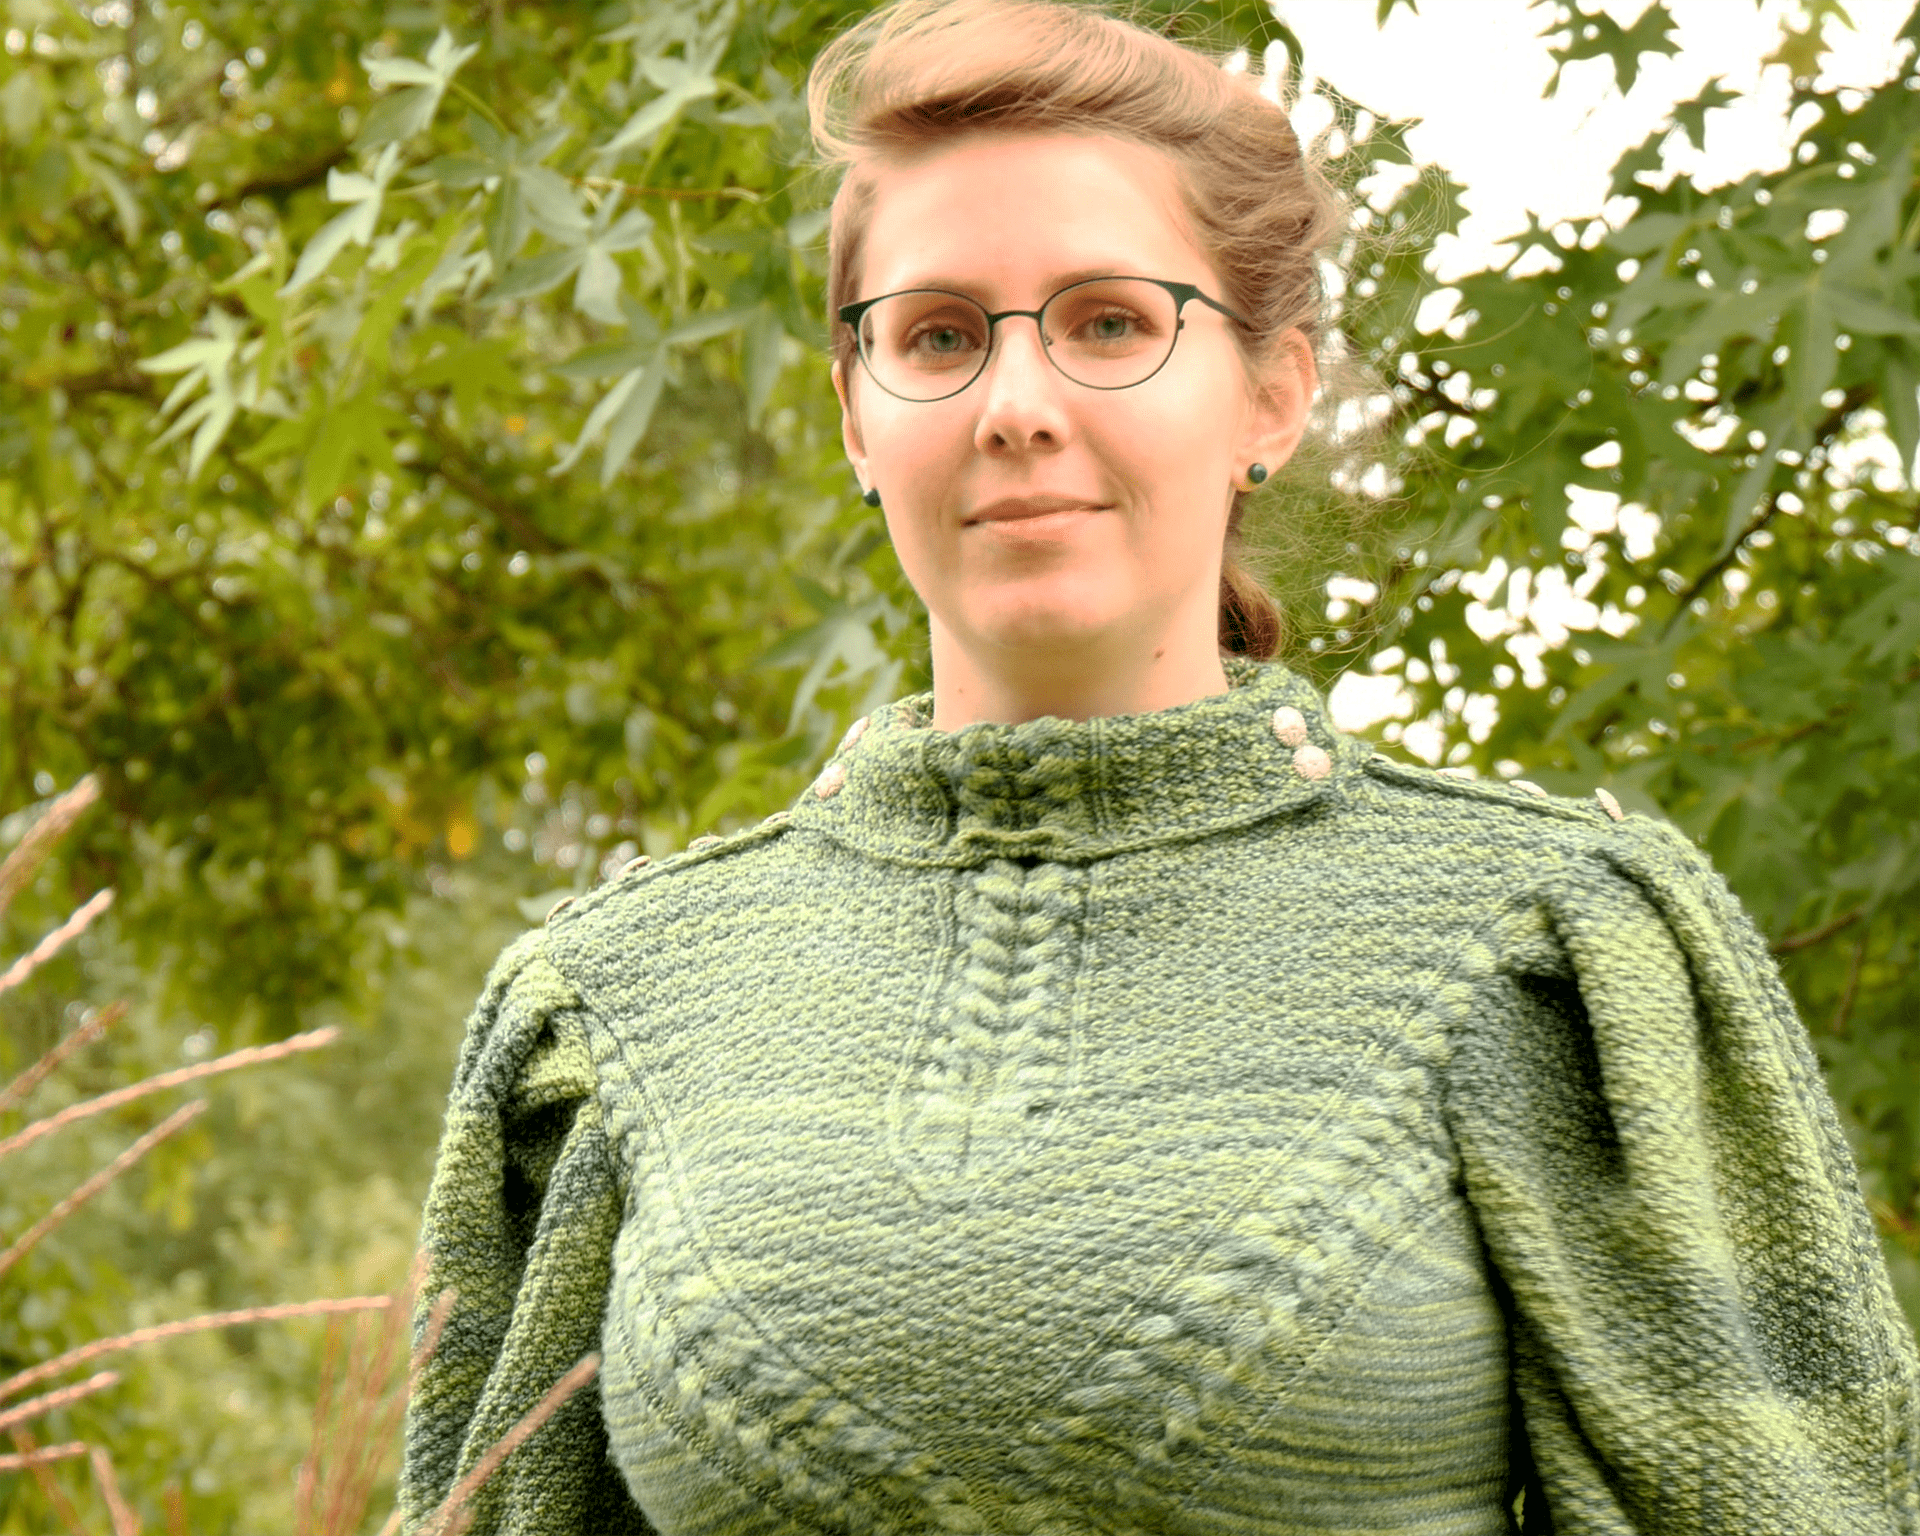
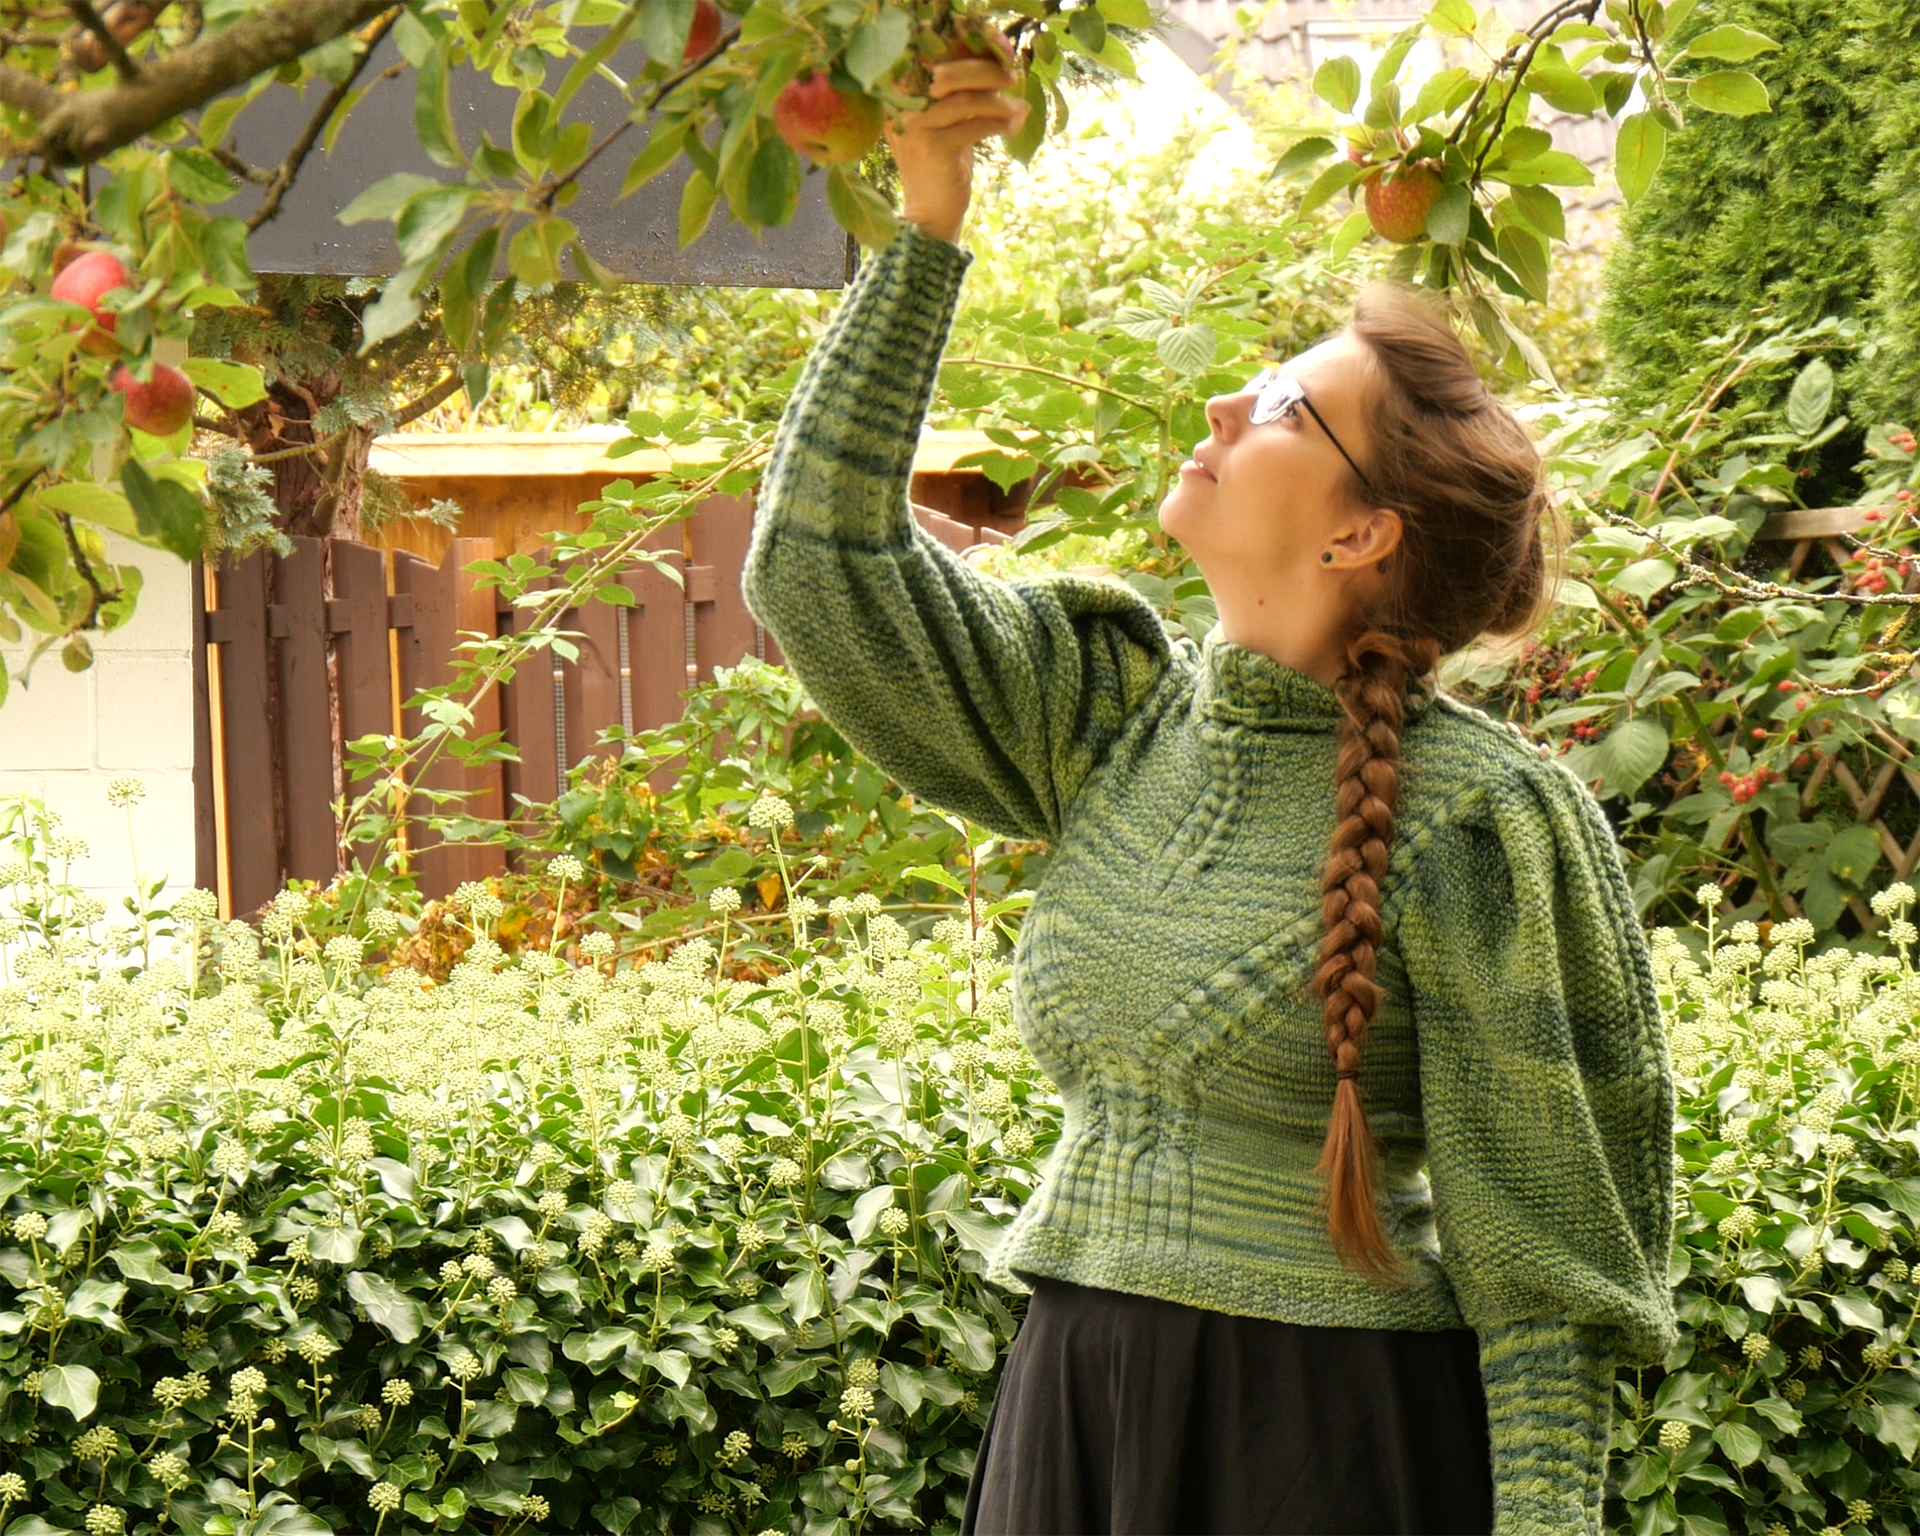
I wanted to make a better version and I had many ideas, so I decided to knit another one. This time with a wonderful green yarn, which was dyed again by my mother.
I’m especially fascinated by cable knits and the traditional Aran Sweaters, so I thought I’d try to combine them with the original Cycling Sweater shape. Both Styles showed up around the same time and had widely different purposes. The Aran Sweater was allegedly created with the purpose of overcoming the extreme poverty of Aran fishing families, and was made to be exported as a traditional looking garment for special occasions. The Cycling Sweater on the other hand was made for the sporty woman and had to be practical and hard wearing. Nevertheless, since I’m not using the sweater in this original context, I found the idea of combining it quite thrilling.
I’m working without instructions in this case, or rather I’m using notes I made while knitting the first sweater as a reference for the silhouette. Then I’m adding the new elements of the cables. A big part of the work was to calculate how many rows and stitches I need.
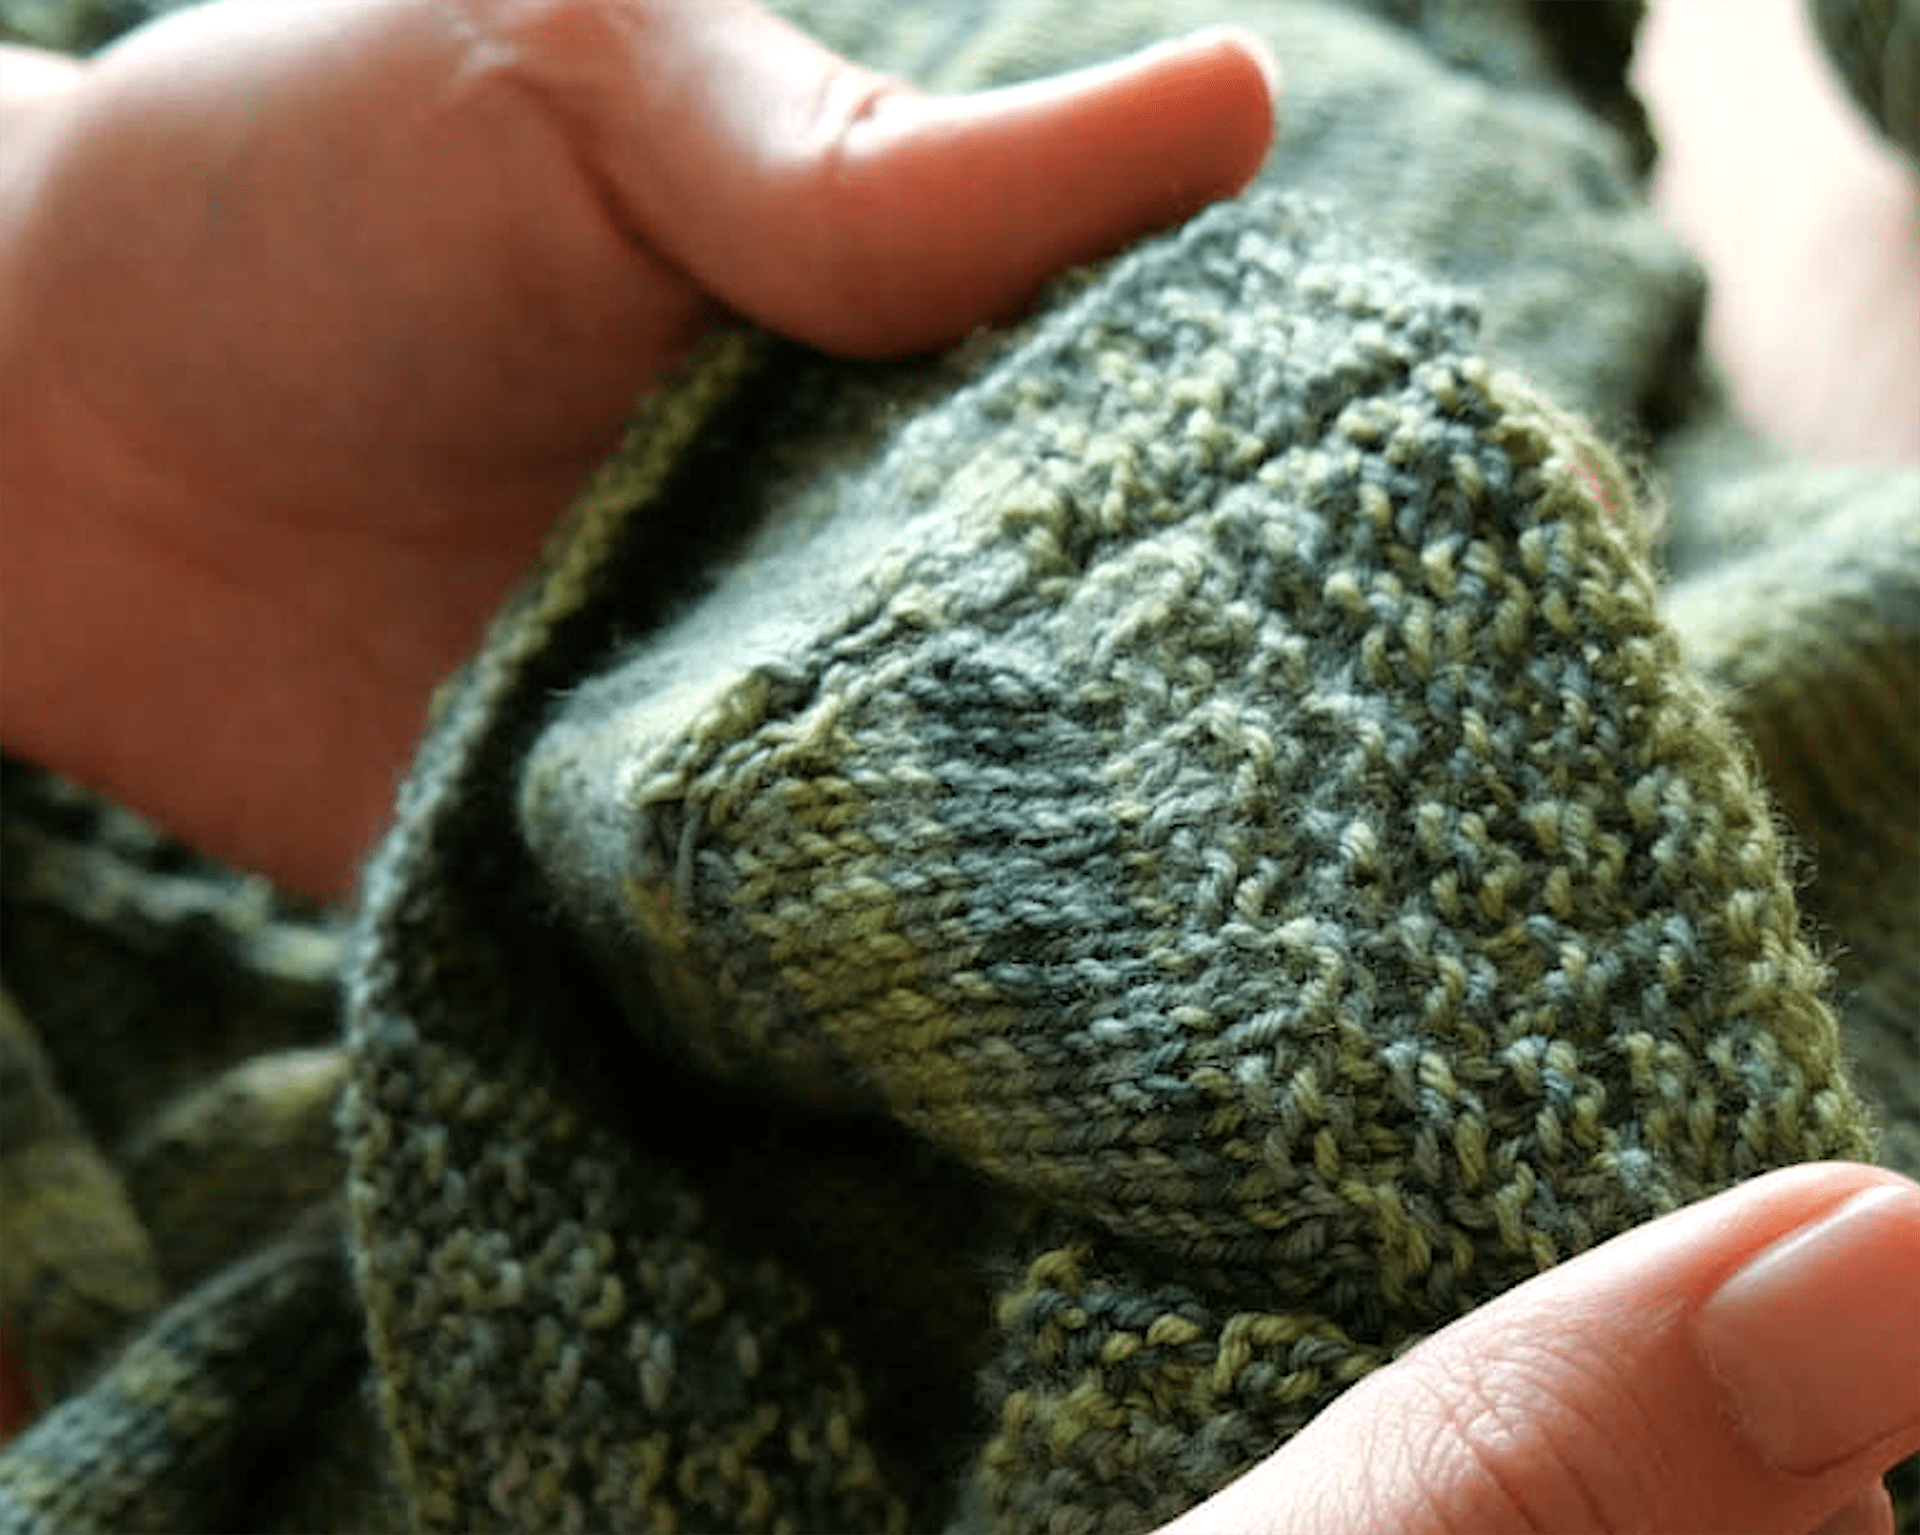
One thing I really struggled with is the fact that I have quite a pronounced bust but a small back, so I always have either too little material at the front or too much at the back. Luckily, my mother came up with the idea to create a kind of dart by knitting shortened rows just at the front. In the picture, you can see those 12 rows which join on the sides almost like a dart would.
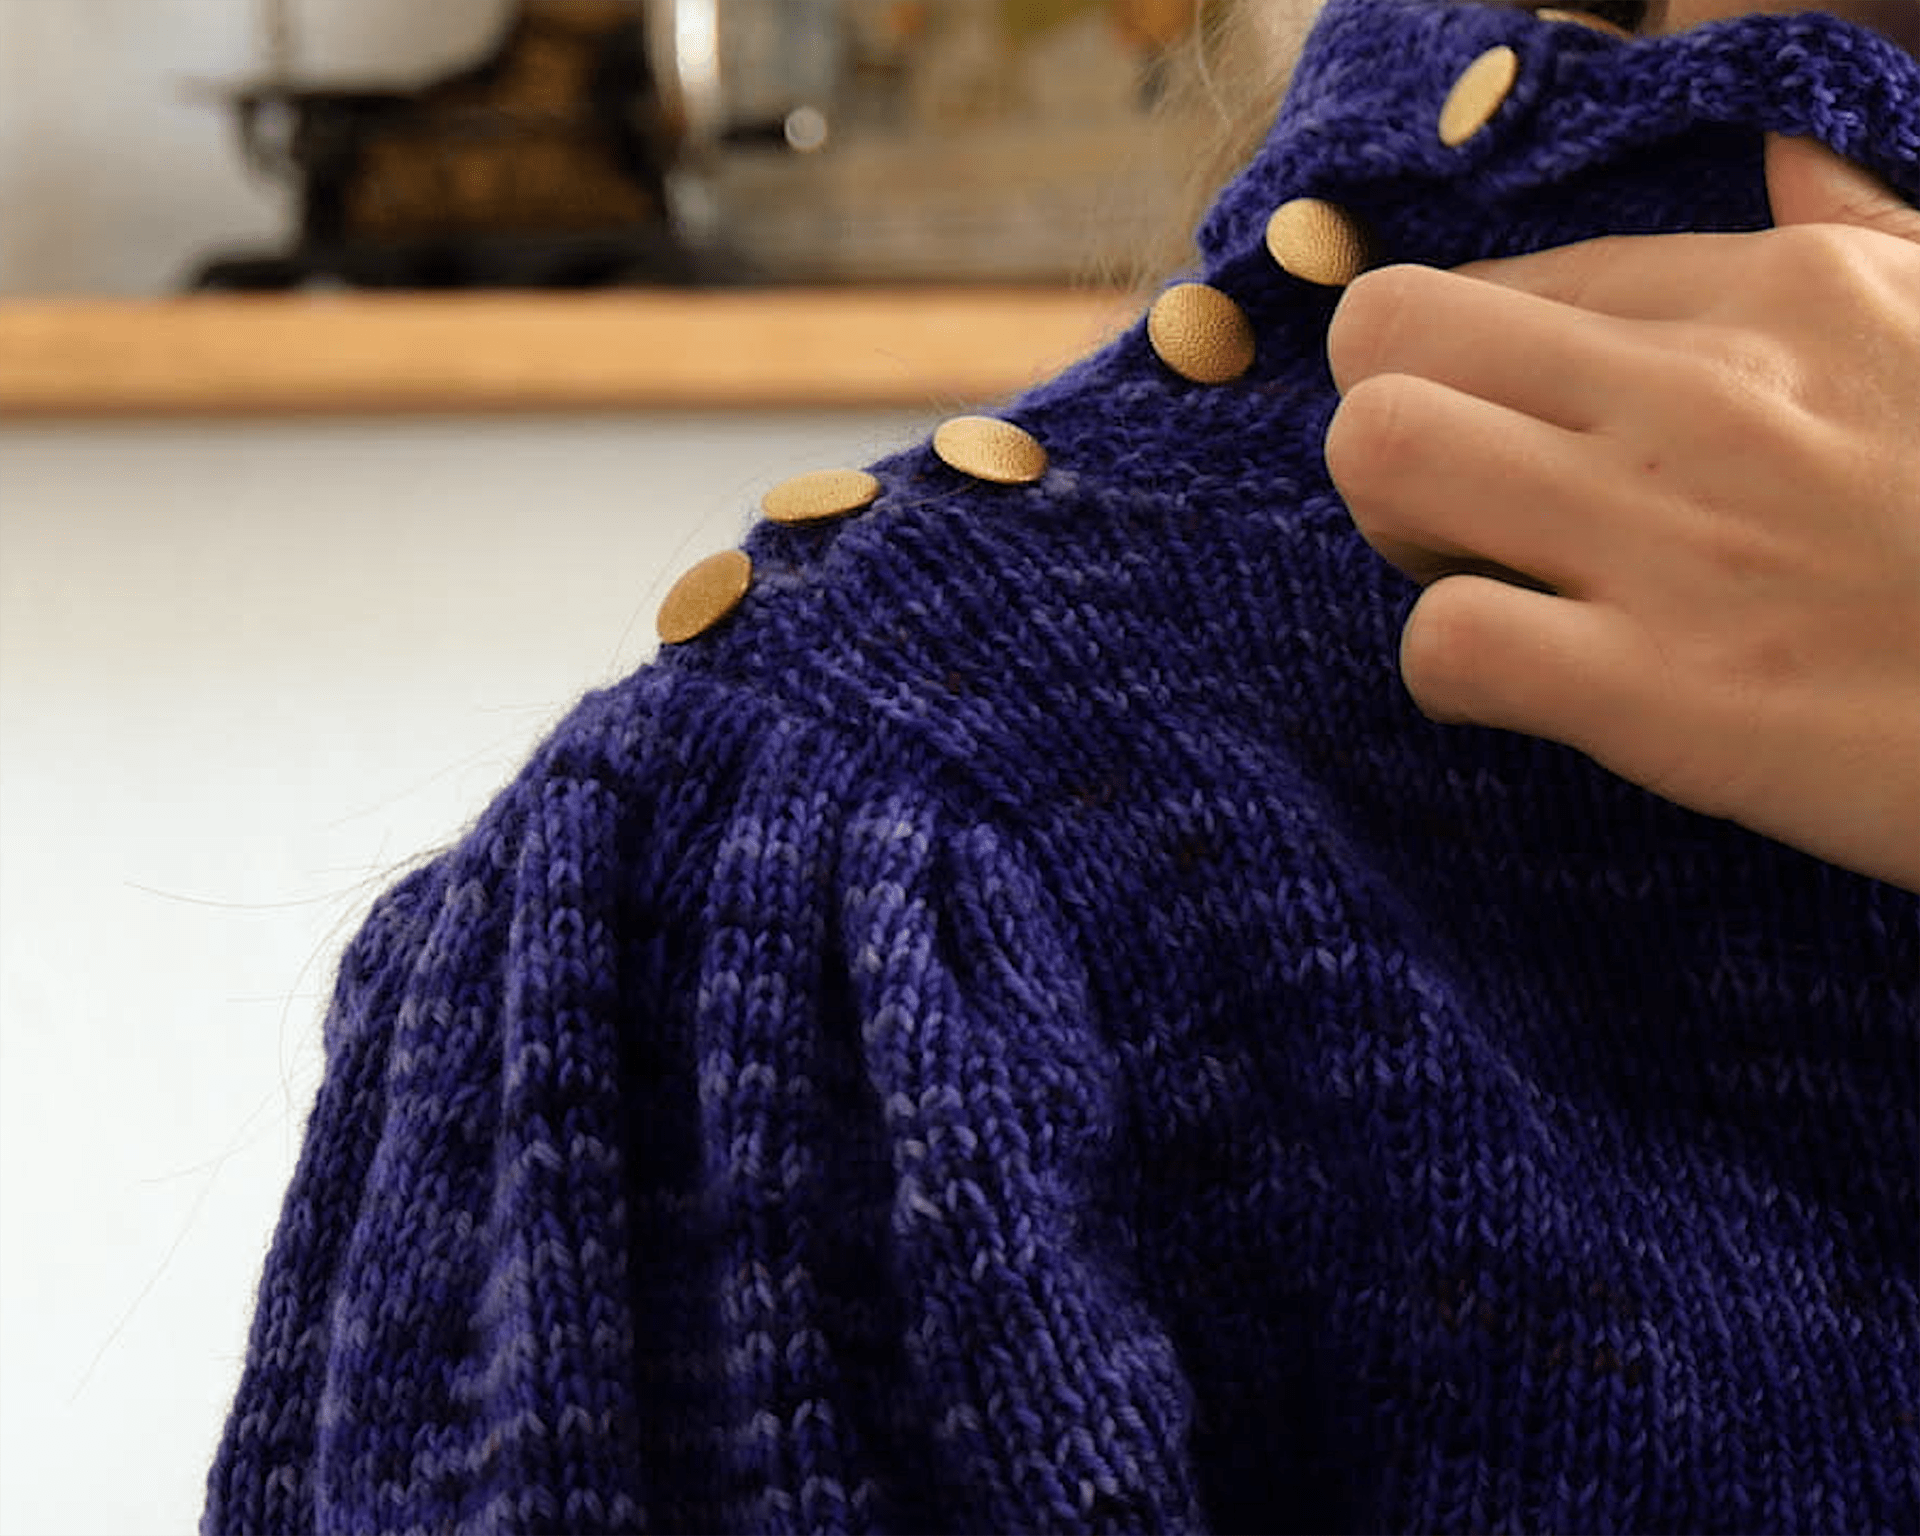
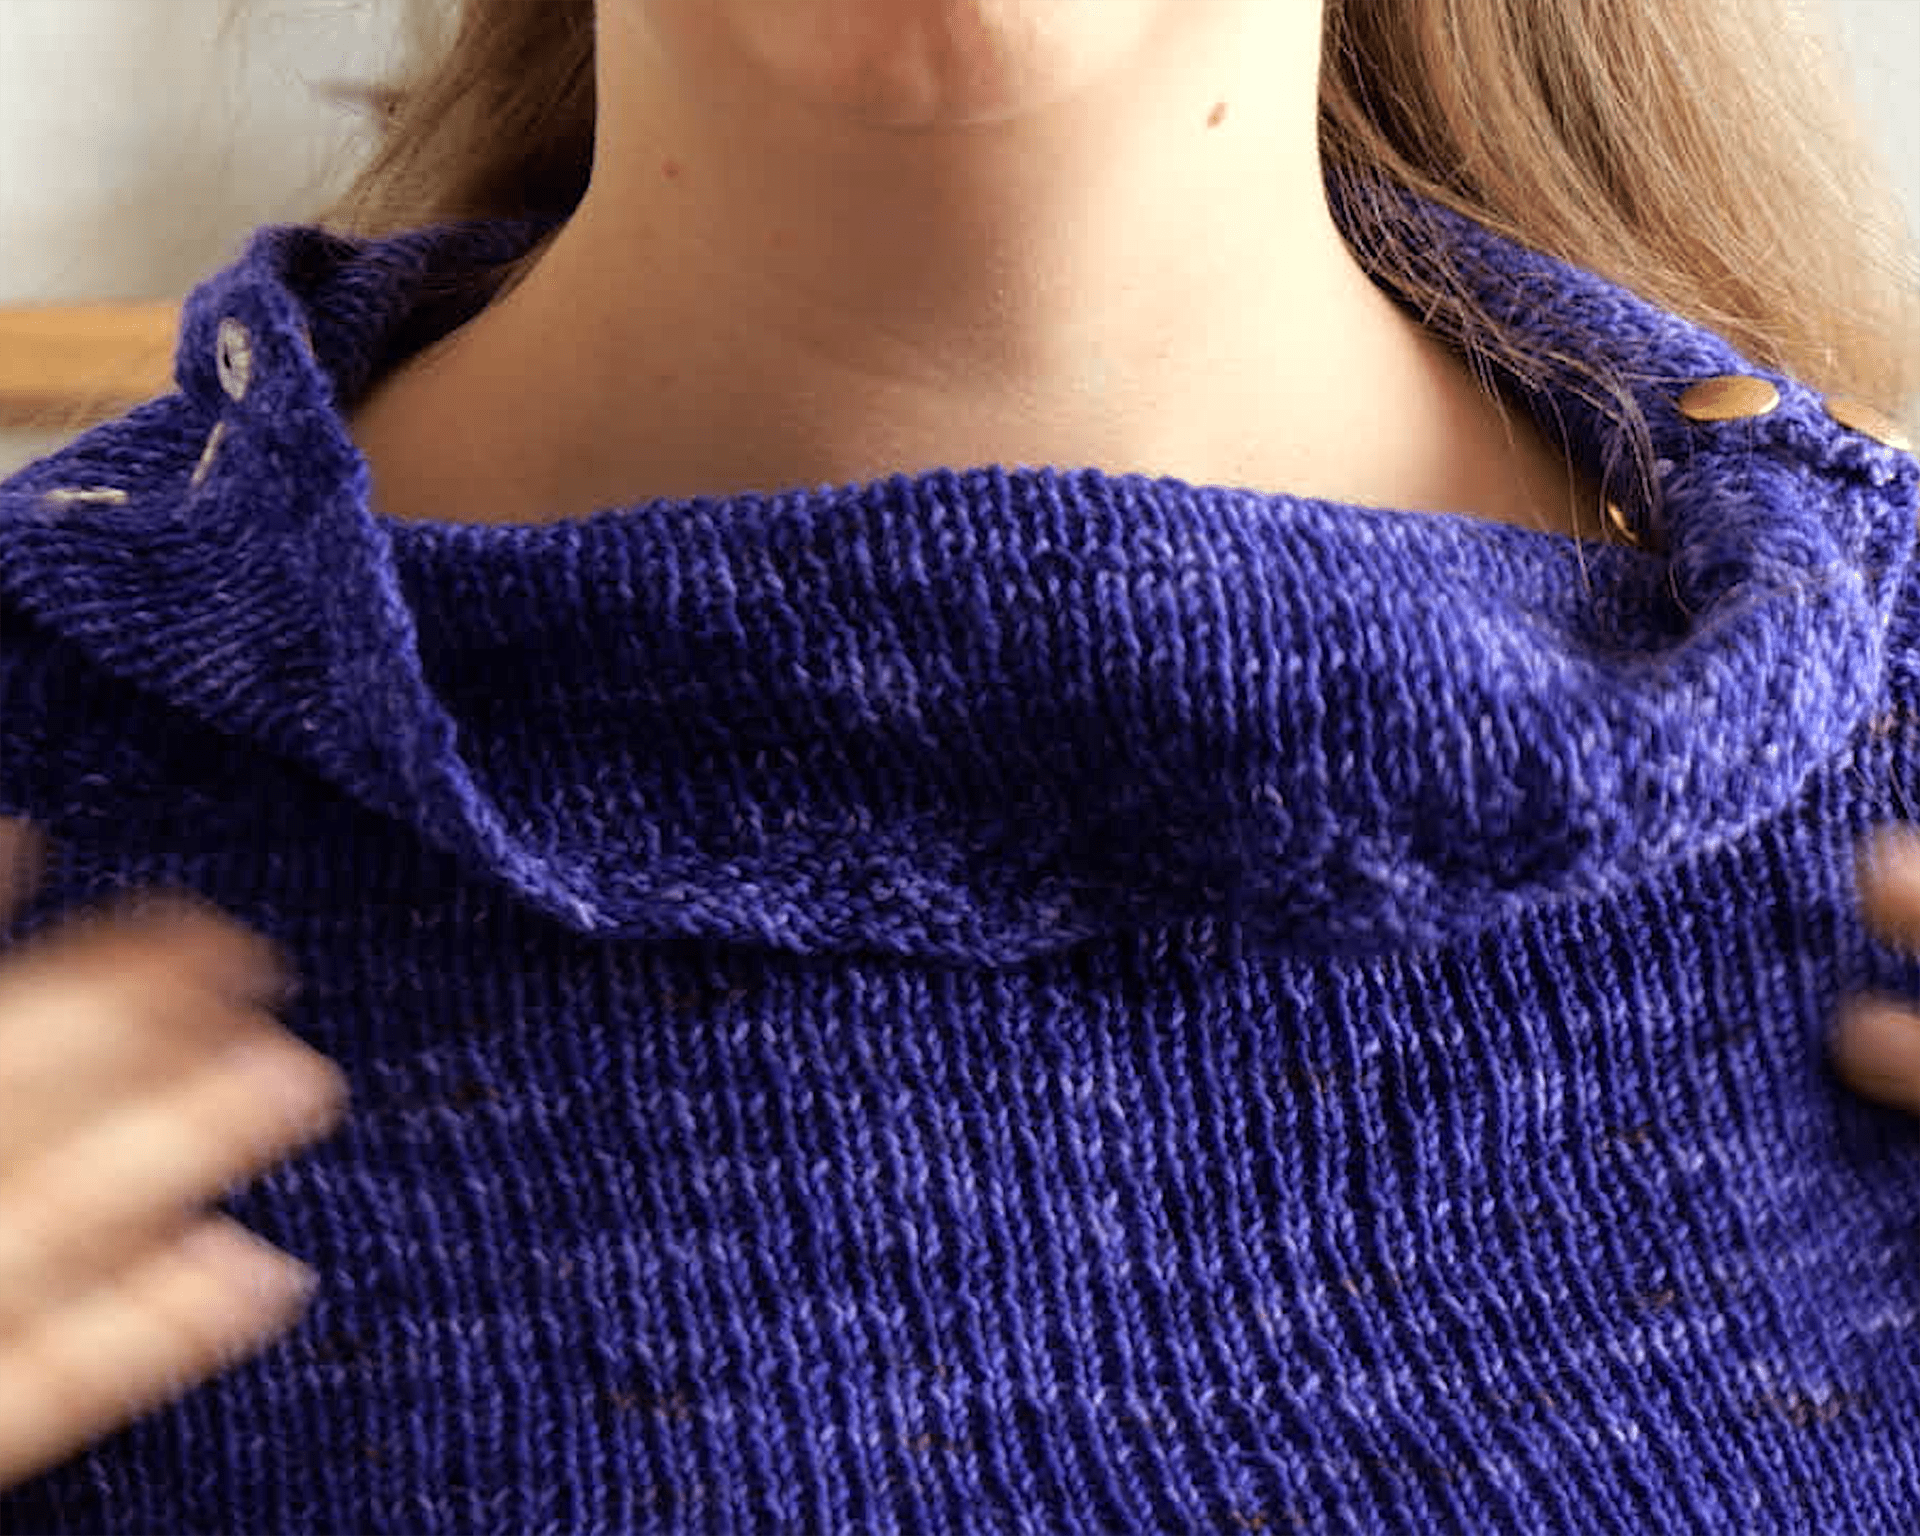
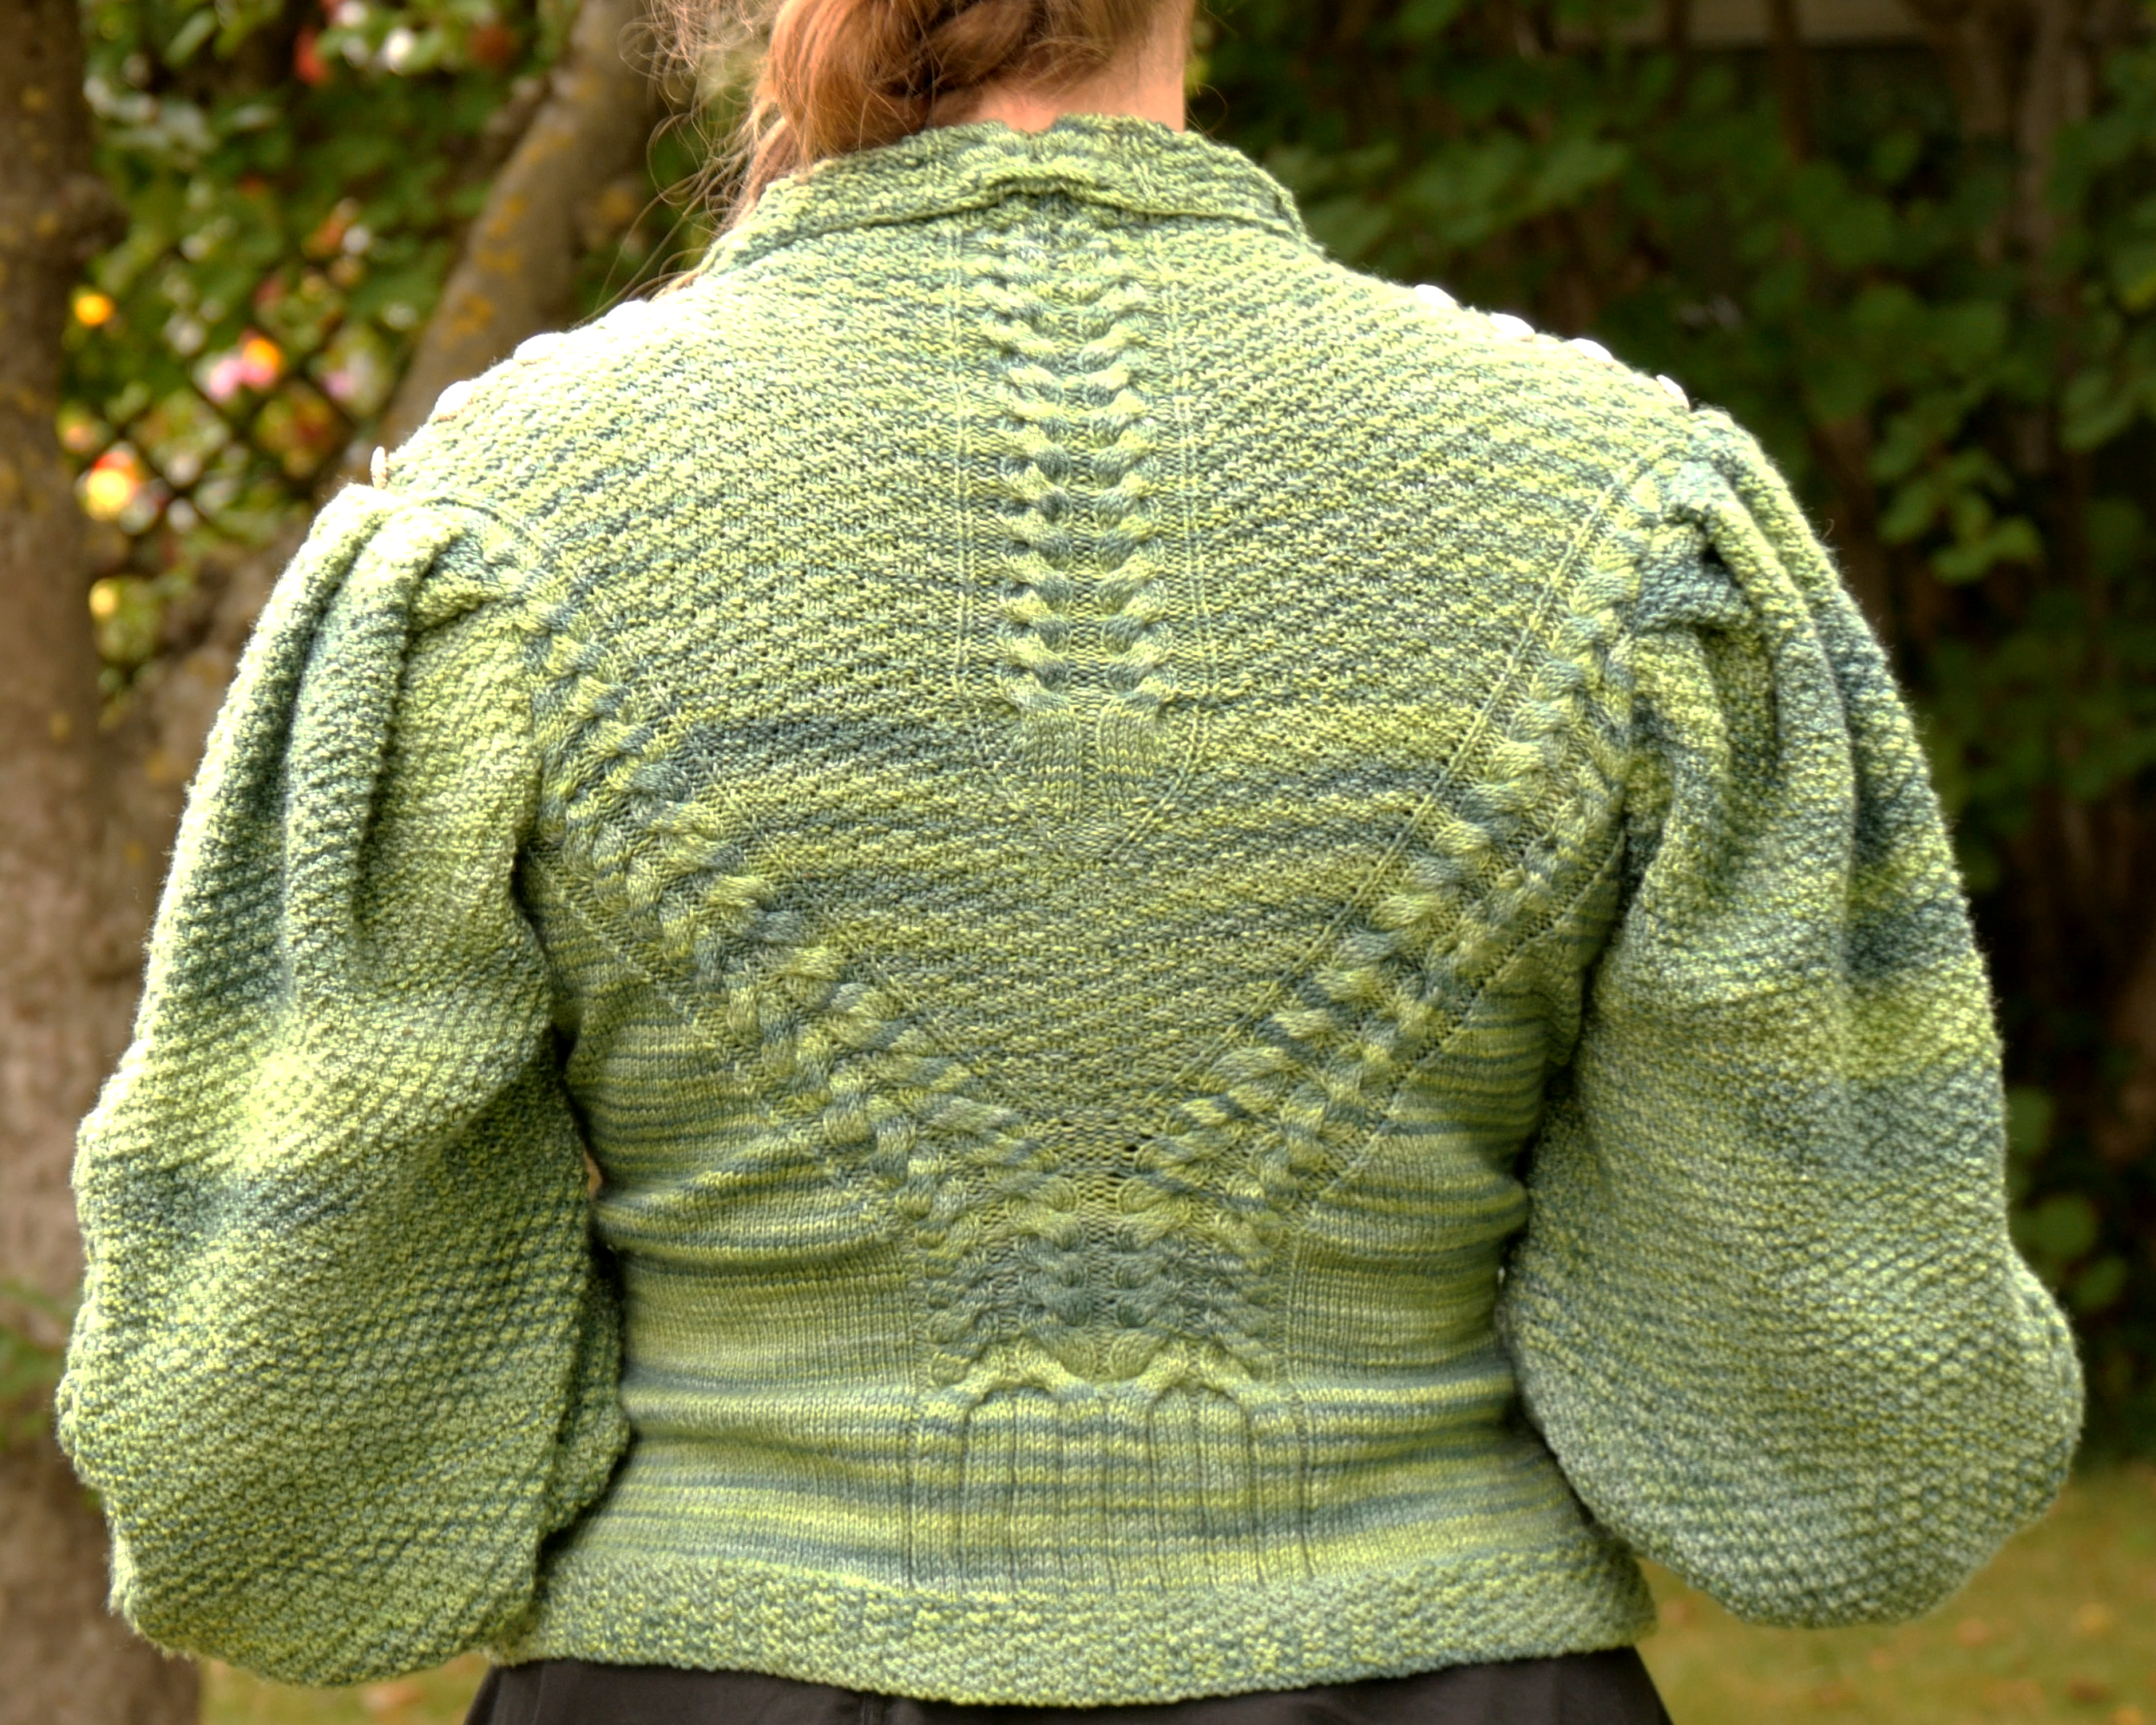
For this Sweater too, I chose to make a high standing collar typical for the Cycling Sweater of the time. I also turned the braid from the front to the back so that the turned part would show the braid the right side around.

Once the bodice was finished I started knitting the sleeves which actually took months. I am apparently no great fan of knitting plain patterns, and I really had to push myself in order to get to the point where the braids for the cuff started. It definitely didn’t help that these sleeves are extremely large and therefore take a lot of knitting.
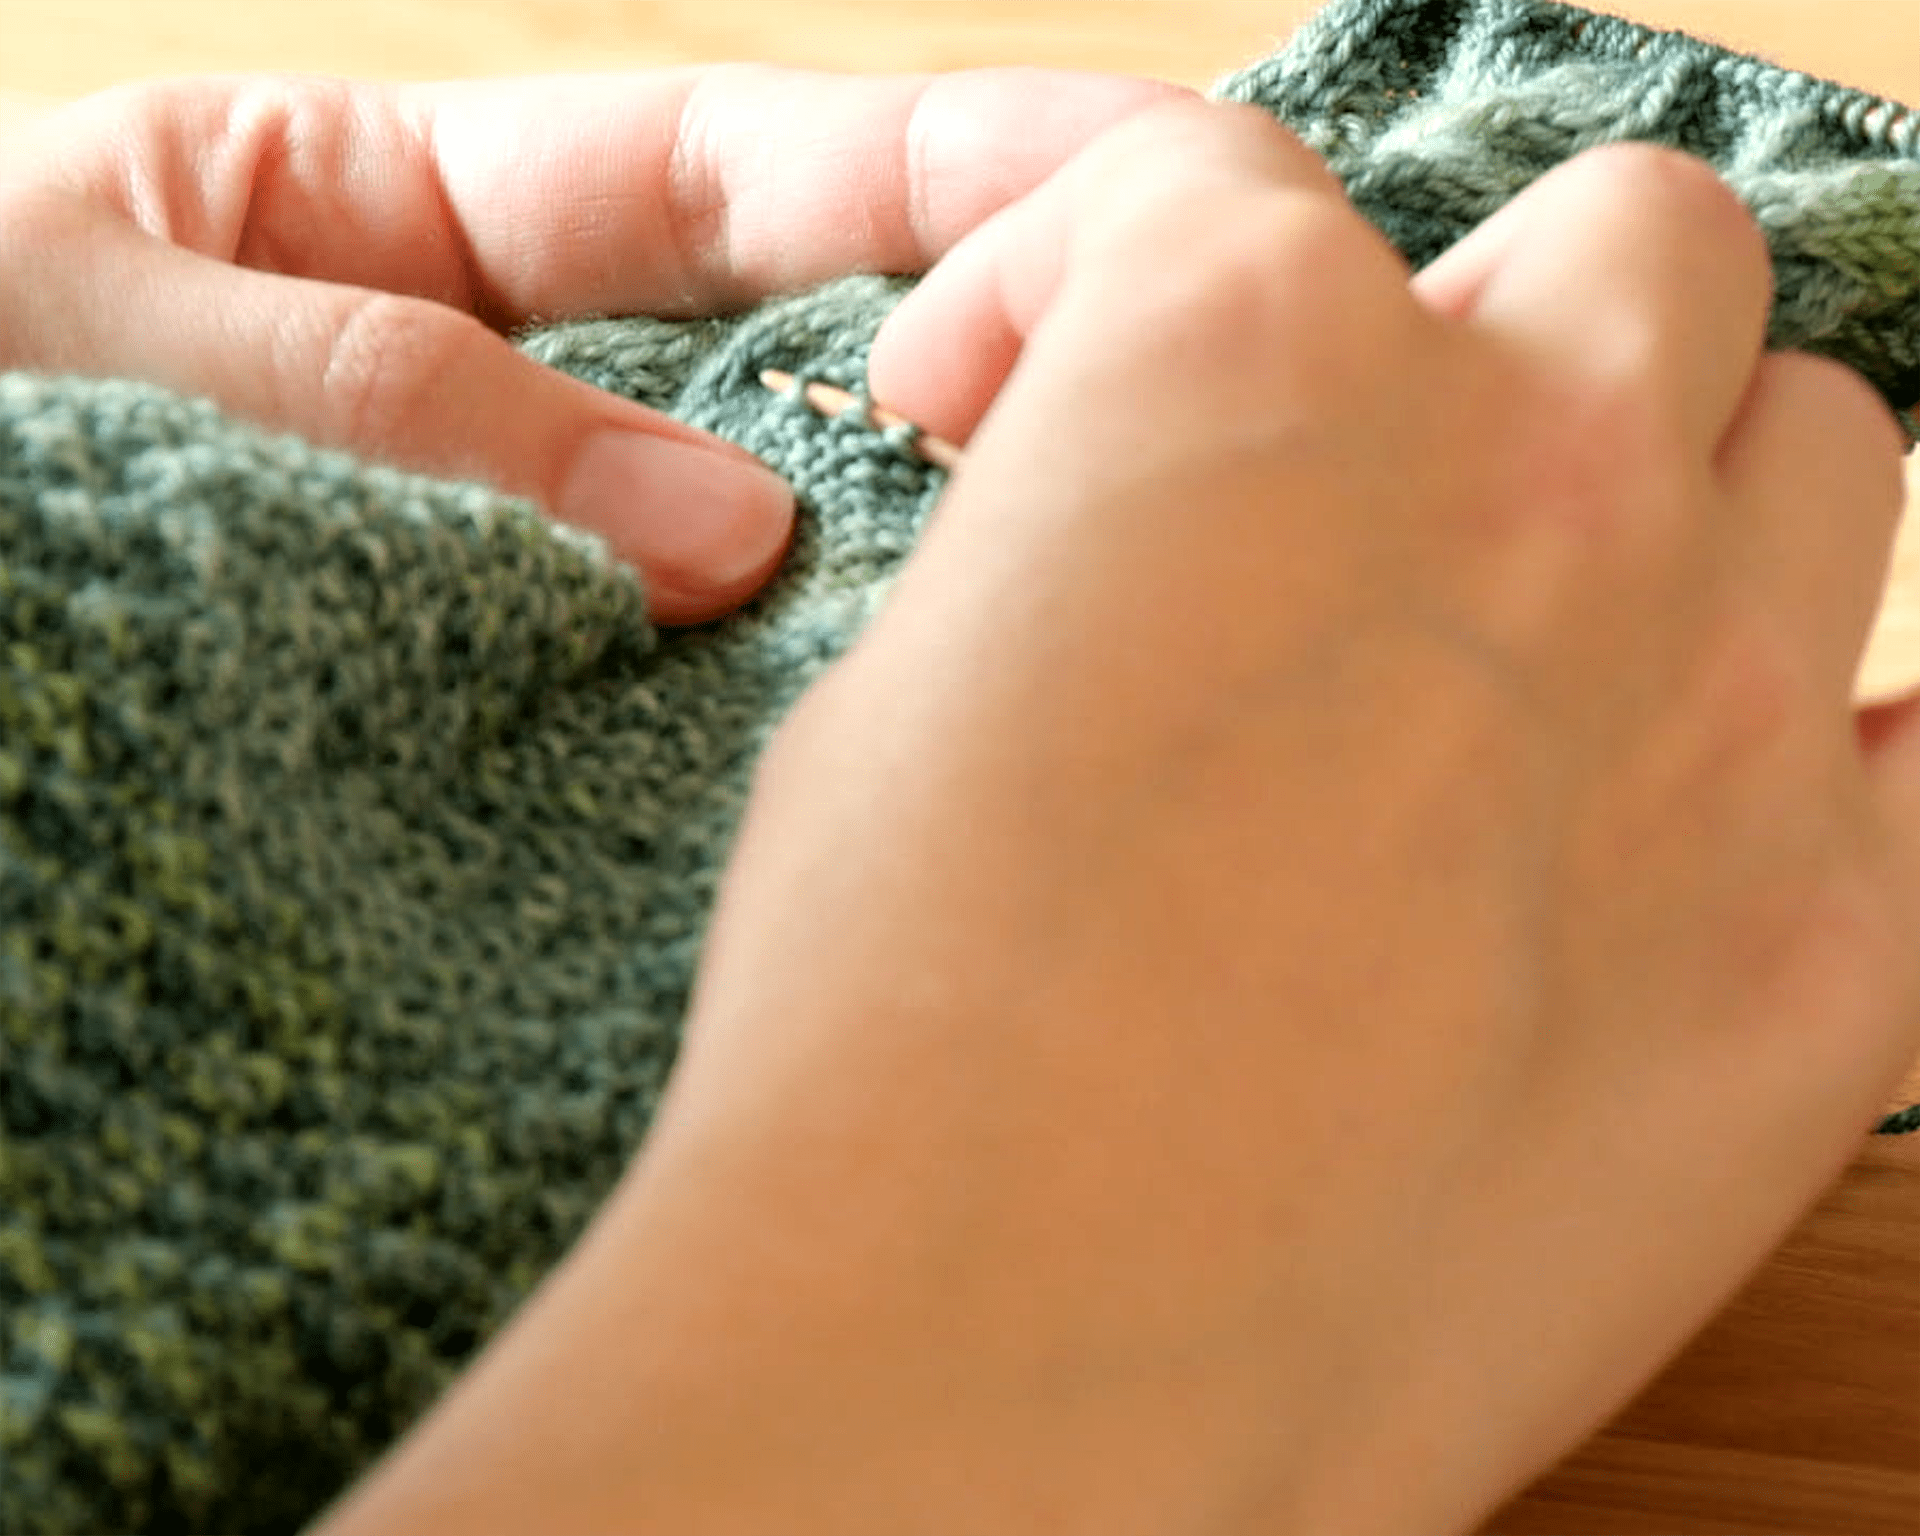
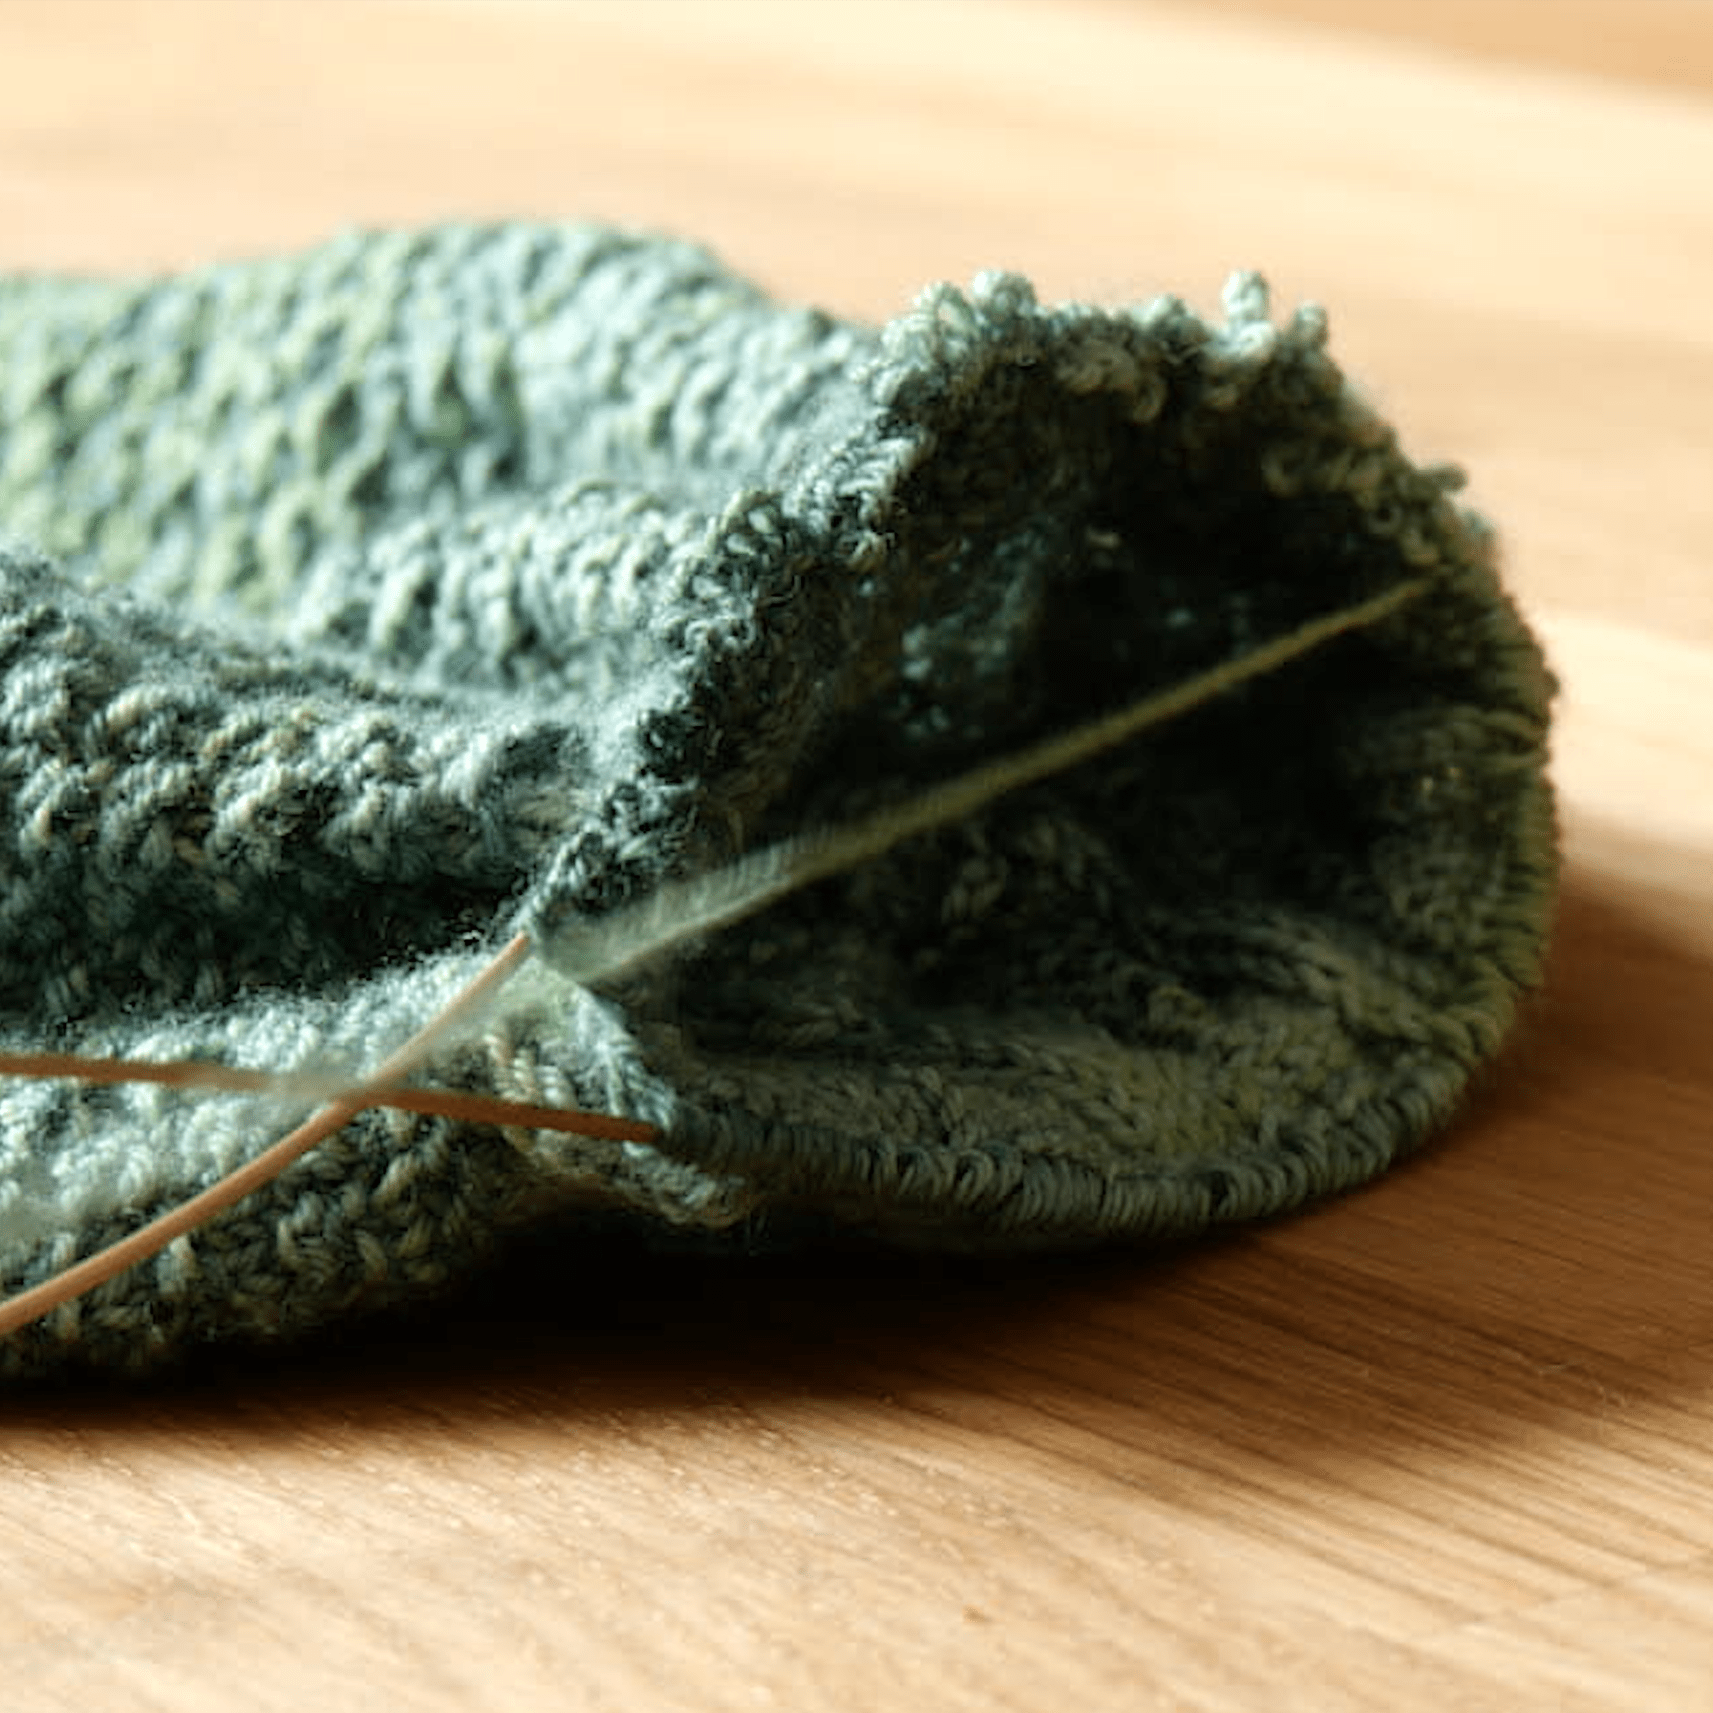
On the half way of the second sleeve, I realized, that I had forgotten to reduce some stitches. So I had to redo the cuff part once again, but fortunately I learned the technique of adding a Lifeline to the point where I want to stop the unraveling. It’s basically picking up the stitches of the row where you want to stop the unraveling.
I went on and knitted the rest of the sleeve, which it took as always quite a while.

Then I only had to sew these peaces together. I used the same thread I knitted with, I just split it in two so that it is finer and won’t create bulk at the sewing line. There are many ways you could sew together the knit, but I chose the back stitch in order to make a stable sewing line and to avoid that the sweater loses its shape.
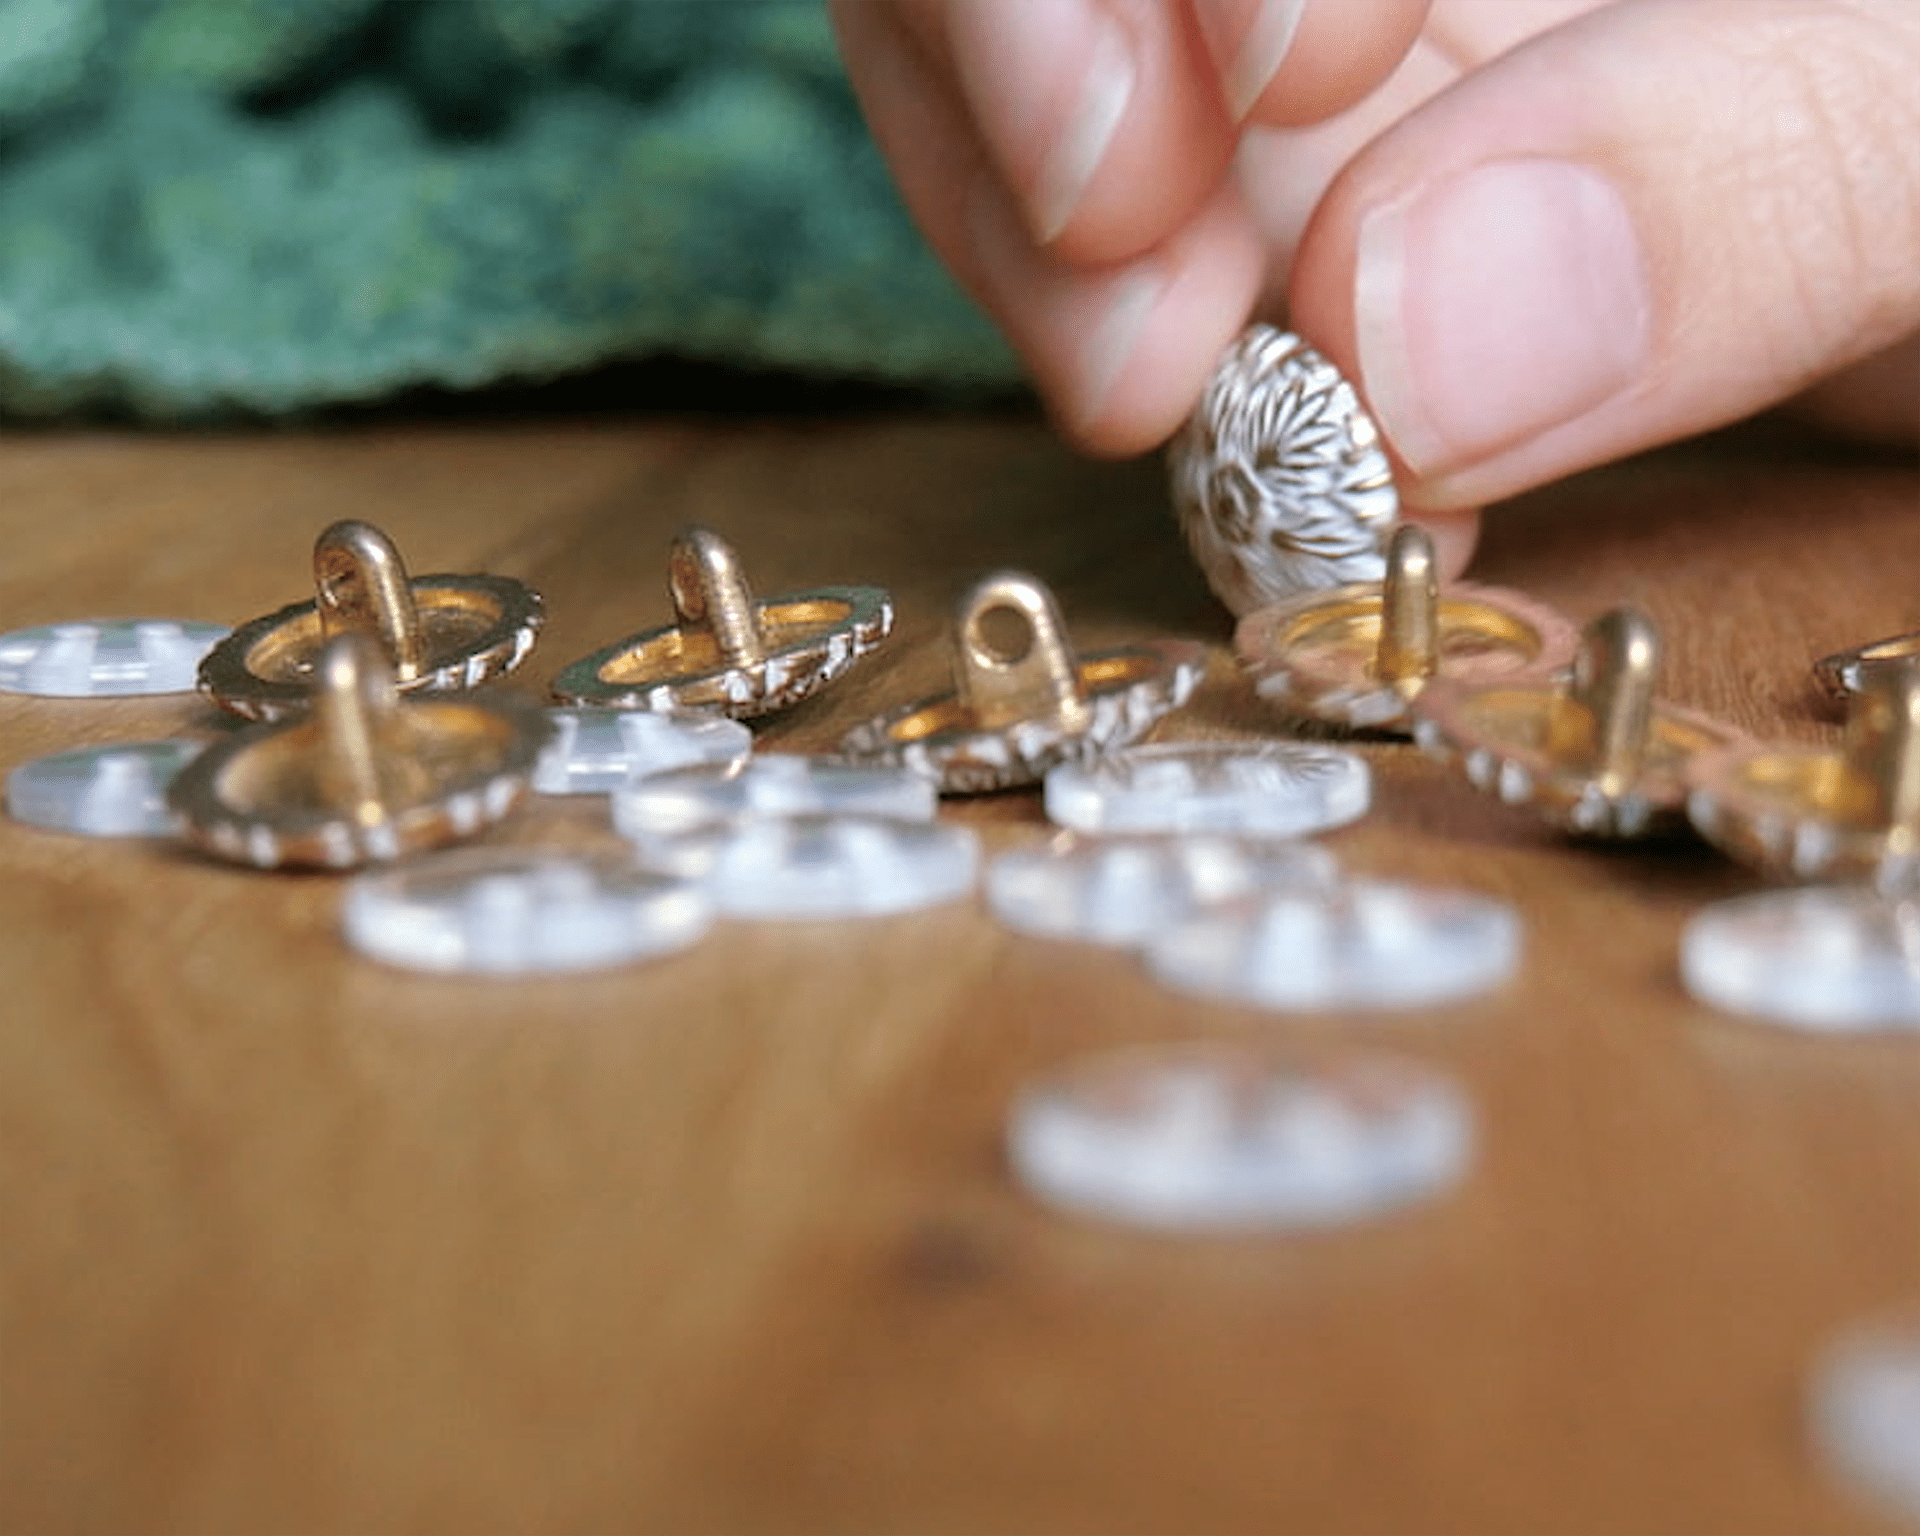
One of the last steps was to sew on the buttons. With the first Cycling Sweater, I learned that it’s easier to first sew the buttons on and then the sleeves, so I did this first. Then I reinforced the buttonholes to make it smaller and also to make them stronger. The last step was to add some transparent buttons to the inside because when you flip over the collar the beautiful buttons would be hidden. I close the buttoning with the transparent buttons, and the beautiful buttons are on the outside.

Then I gathered the upper part of the sleeve into a big double box pleat and sewed the entire sleeve into the armhole. But before I sewed the sleeve into the armhole, I decided to sew the box pleat into place in order to secure it and make it stay where it should.
I didn’t change the size of the sleeves and that’s why I ended up having again drooping shoulders. And unfortunately, I thought changing the bodice would suffice in order to avoid it. But I couldn’t test it and once the sleeves were knitted I didn’t want to remake them once again. So now I have to figure out another solution in order to keep those shoulders on my shoulders. Maybe with some tape, or I will come up with another idea…
There is again the video of the entire making process beneath.

I’ve got to share an update: I’ve made some tweaks to the Cycling Sweater, and trust me, it’s even better now! I made a sleeve support and this has truly transformed the look!
Material used:
- 600 g of Merino 4-ply yarn 100g/m
- 8 transparent buttons
- 12 brass buttons