The Victorians had quite a fascination for nature, incorporating prints of flowers and animals into their dress. Often even incorporating the real stuffed animal to the outfit. While I’m a little appalled by the latter, I really get the fascination for nature.
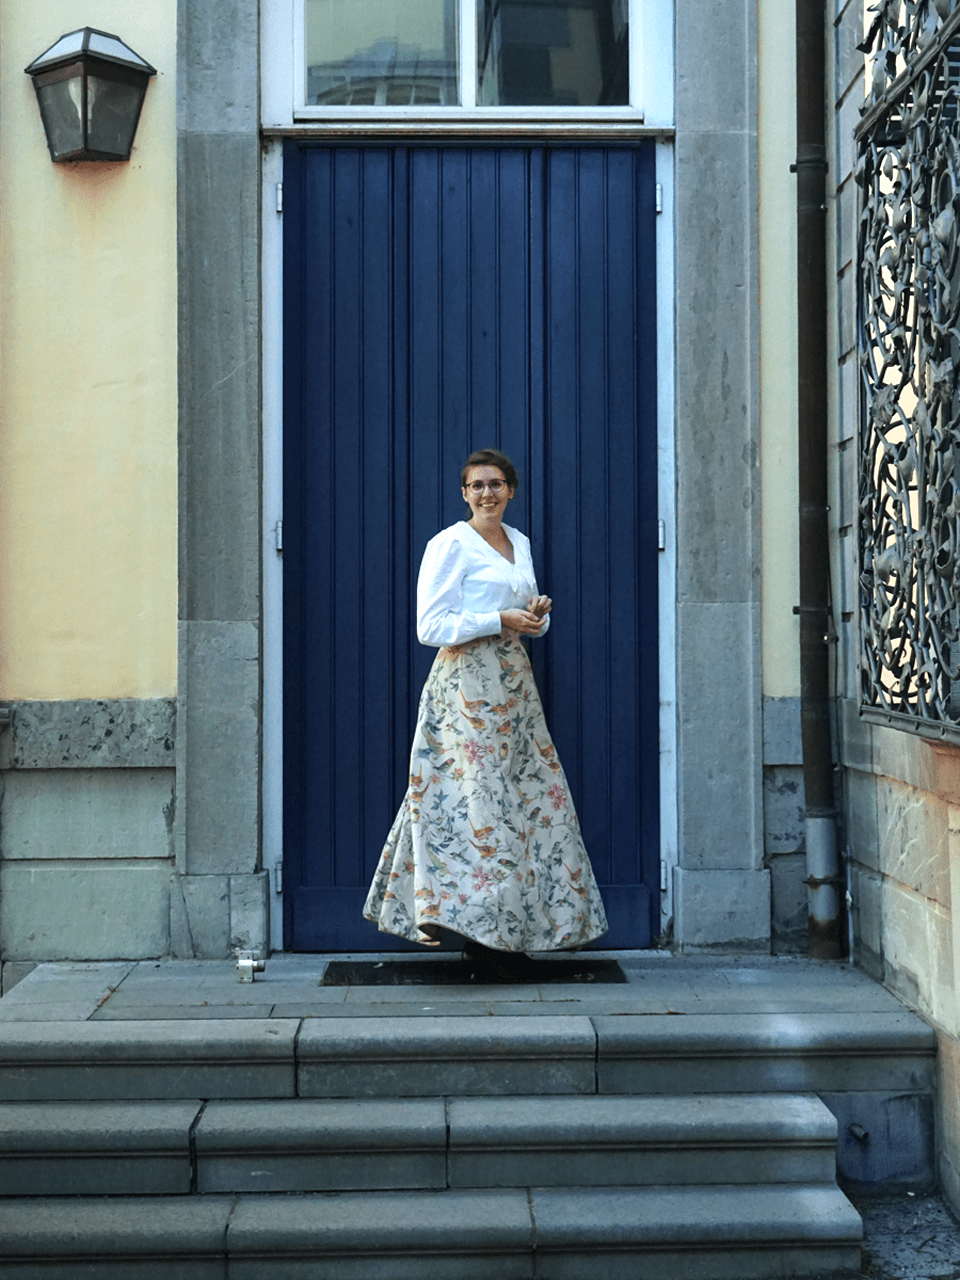
Since I’m living in the city, I’m dearly missing the sound of singing birds. And by chance, I came across a wonderful fabric with a bird print. So I decided to make a Victorian walking skirt out of it.
The fabric itself is an upholstery fabric, but since walking skirts tend to be quite heavy and often stiffened with tarlatan and a lining, this was the perfect fabric to work with.
Since I had no indication what the fabric is made of, I made a washing test to see, if it shrinks. Usually I mark a square of 10 cm on the fabric with some water-resistant pen and then wash it with a normal wash in the machine. Unfortunately, the fabric shrinks about half a centimetre on each side and looses a lot of its stiffness. Therefore, I’m really glad, I did this little test.
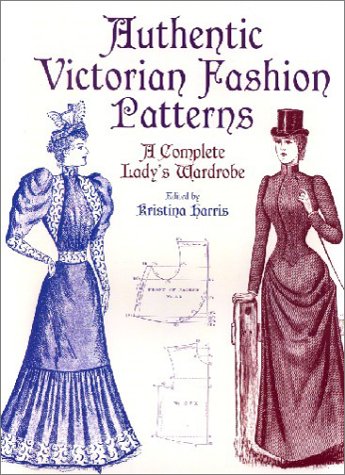
Using an original pattern for a walking skirt from the book “Authentic Victorian Fashion Patterns”*, I was quickly set up to go. The pattern didn’t need any alterations, just the adaption to my waist measurements, which I made with the help of Clo3D. With its help, I was also able to check if I really like the pattern on this kind of skirt, and luckily I was.
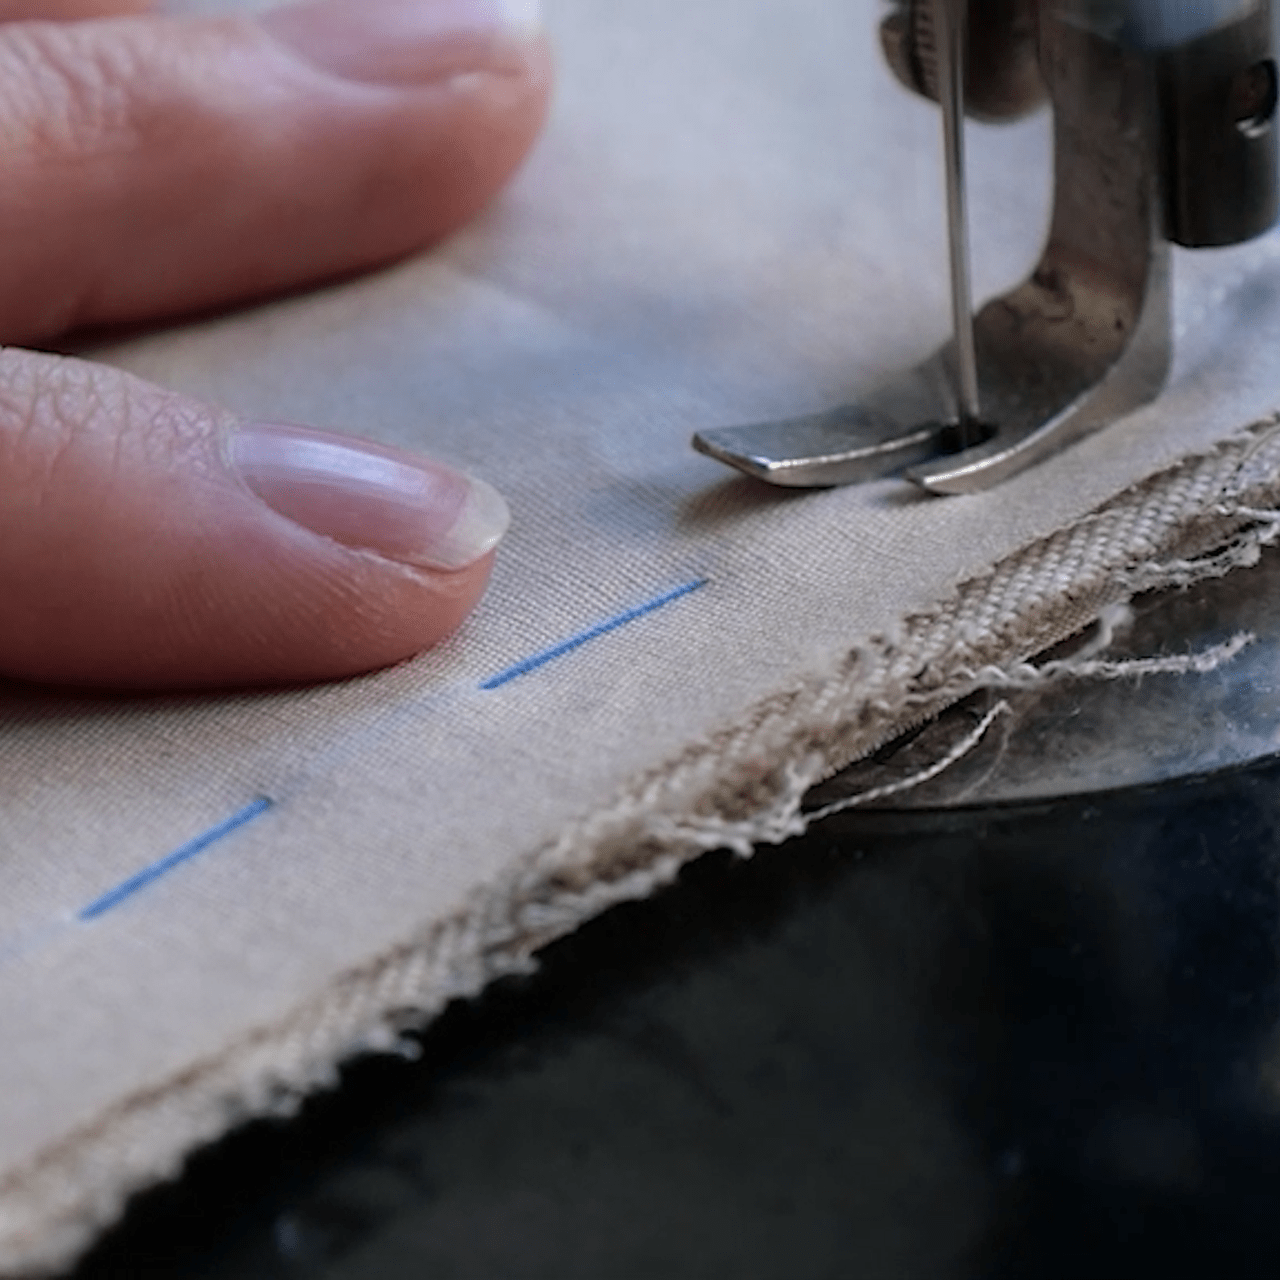
For the assemblance of the skirt, I used for the time appropriate sewing techniques. For the first time, I also used basting to pin the different layers of main fabric, canvas for reinforcement and lining together. I used to skip this step because, I couldn’t imagine, that the benefits would be worth the extra time. But I was thought better, since the assemblance as well as on the machine and by hand was much easier. Especially since the chalk marks didn’t disappear – well, they did, but the thread marking these lines didn’t – and I didn’t sew the lining accidentally into pleats.
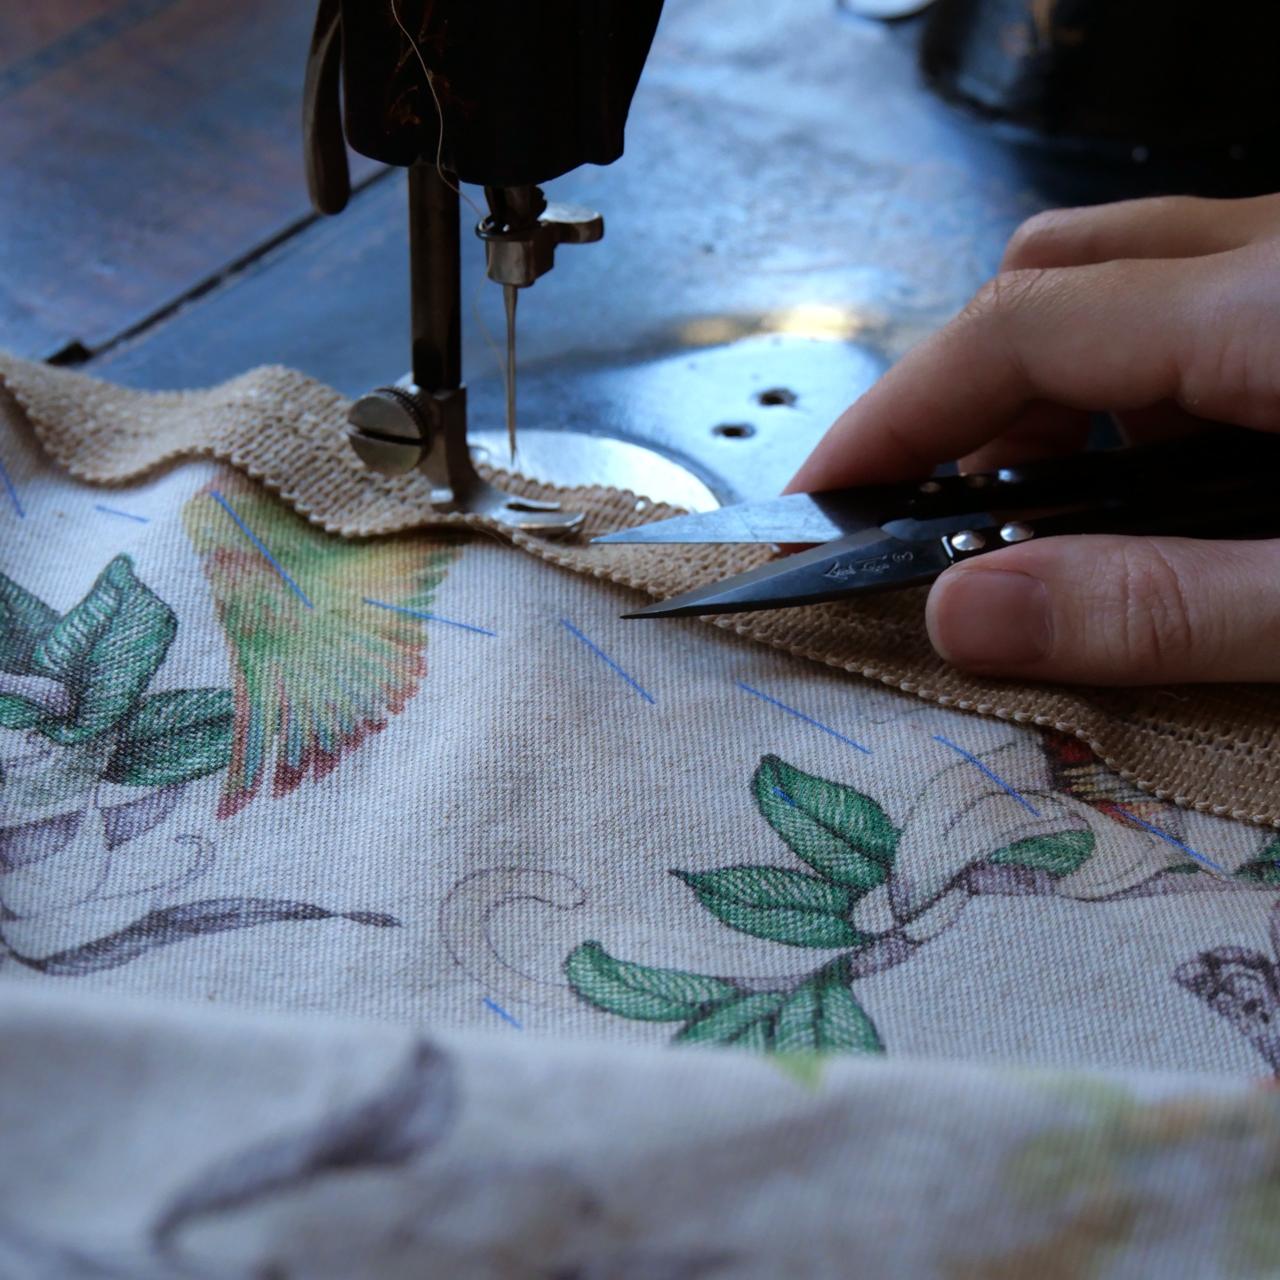

Once most of the skirt was assembled with my antique sewing machine, I felled the seam allowances by hand, since the material frayed quite a bit. This was actually the most time-consuming part of this project. I made sure, that the stitches of the felling won’t be visible on the front and this needed some time.
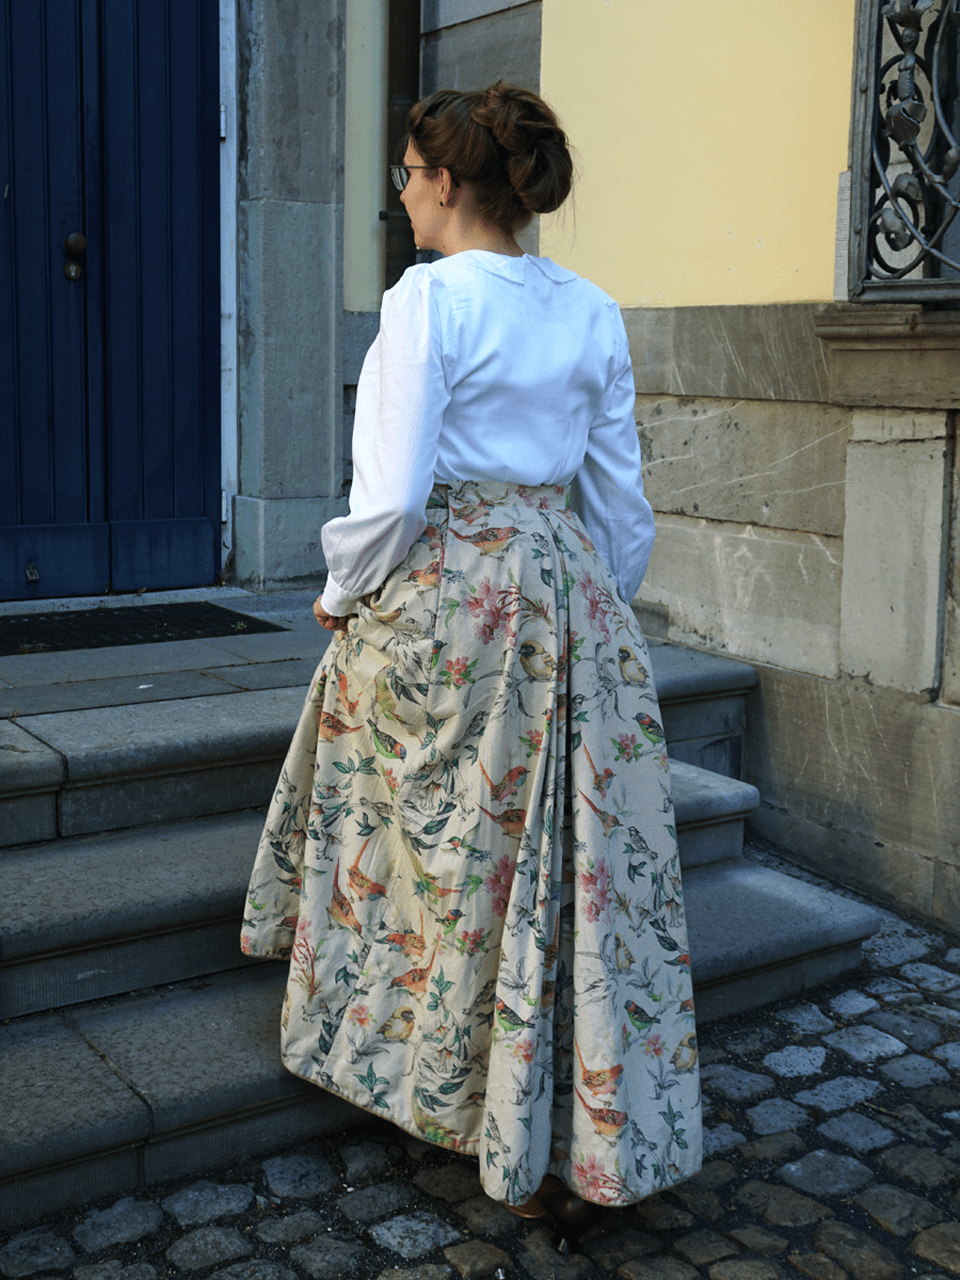
The last steps were to add a woollen braid to the hem of the skirt. The hem is quite long, so the hem will often touch the ground, and now the first thing to wear out is the braid. Back in time, a brush braid would have been used, but I hadn’t found a supplier at that point in the project.
It was really fortunate, that I added the woollen braid to the hem, since the very first time, I wore the skirt outside, I ripped open the hem. The skirt is a little too long at the back side, since there should be a hip pad underneath, and somehow I got caught in it with my heel. After repairing the torn seam, I now wear this walking skirt only with a hip pad underneath.

I made a video showing the entire construction and sewing process:
Materials used:
- 4 m upholstery fabric
- 4 m cotton popeline
- 4 m woollen braid
- cotton sewing thread