I stumbled upon Armenian lace as a new to me technique of making lace (see right pin), and thought an Edwardian petticoat would be the perfect project to try out such a new technique. If it doesn’t go well, I’ll just wear a skirt over it and no one will see.
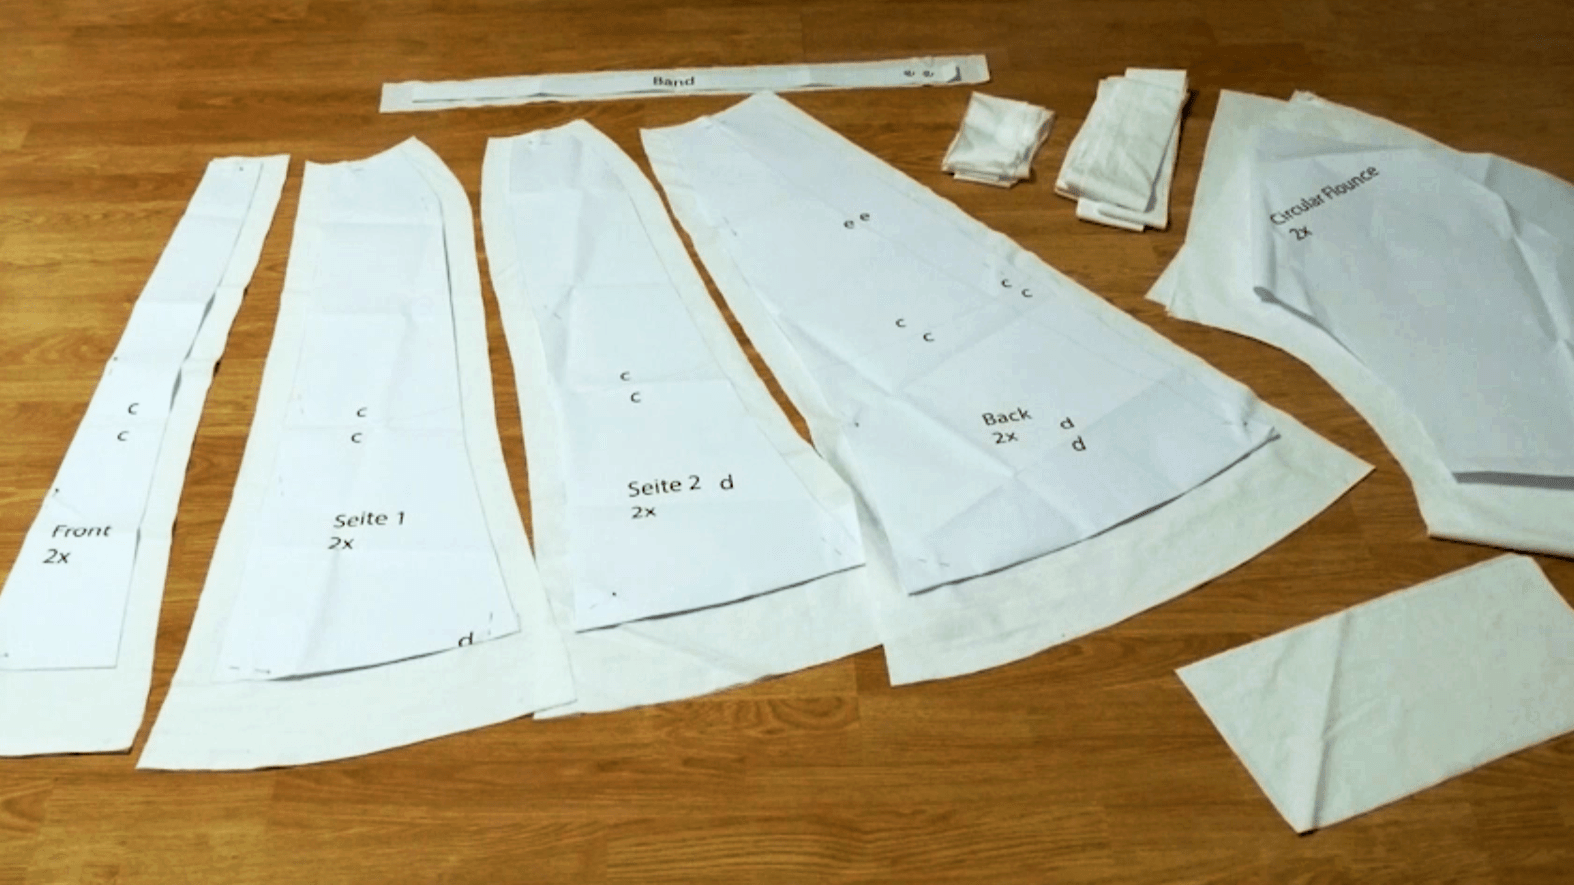
But first I need the petticoat itself. I made a made to measure pattern based on a Butterick pattern from 1908, which I digitally enlarged and plotted. (See the left pin as reference).
I cut the pieces with the extra wide seam allowance for a French seam, this way I don’t have any raw seam allowances. At first, I had difficulties to estimate the seam allowance correctly, because I wanted to have a seam allowance of 5 mm and then after ironing it over one of 1 cm, but this was very difficult to estimate while sewing, and I was just too lazy to mark it with tailor’s chalk or even baste it.
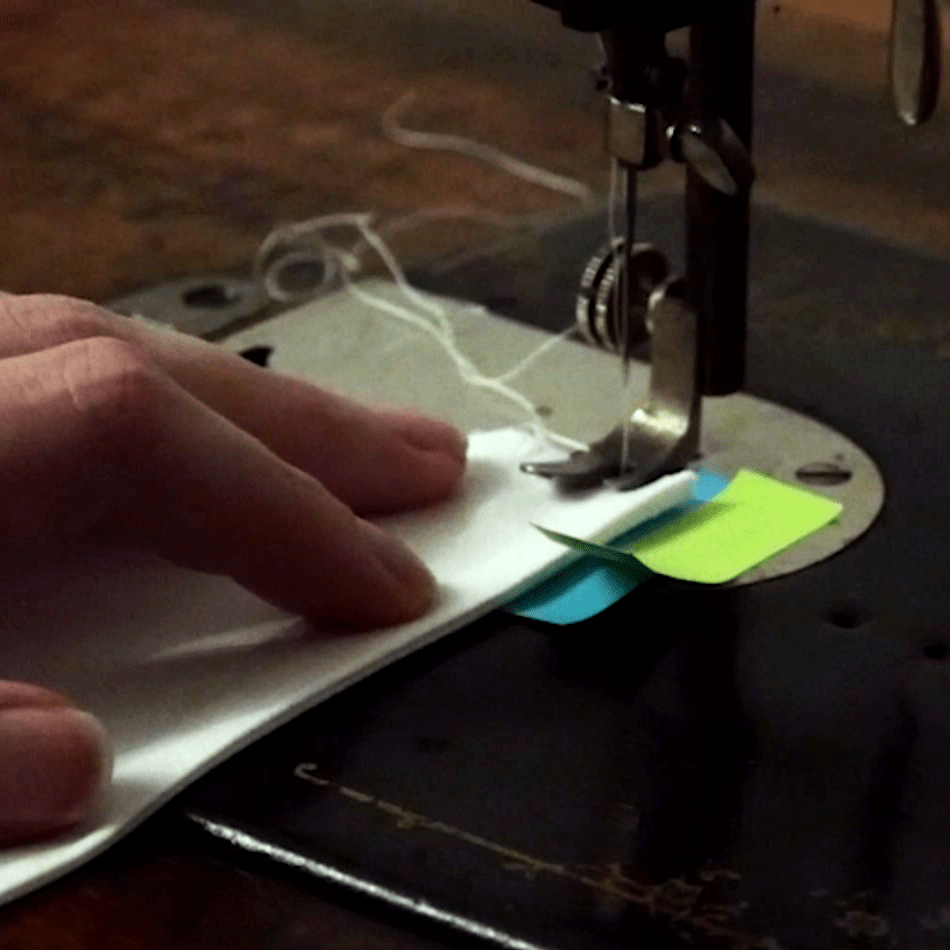
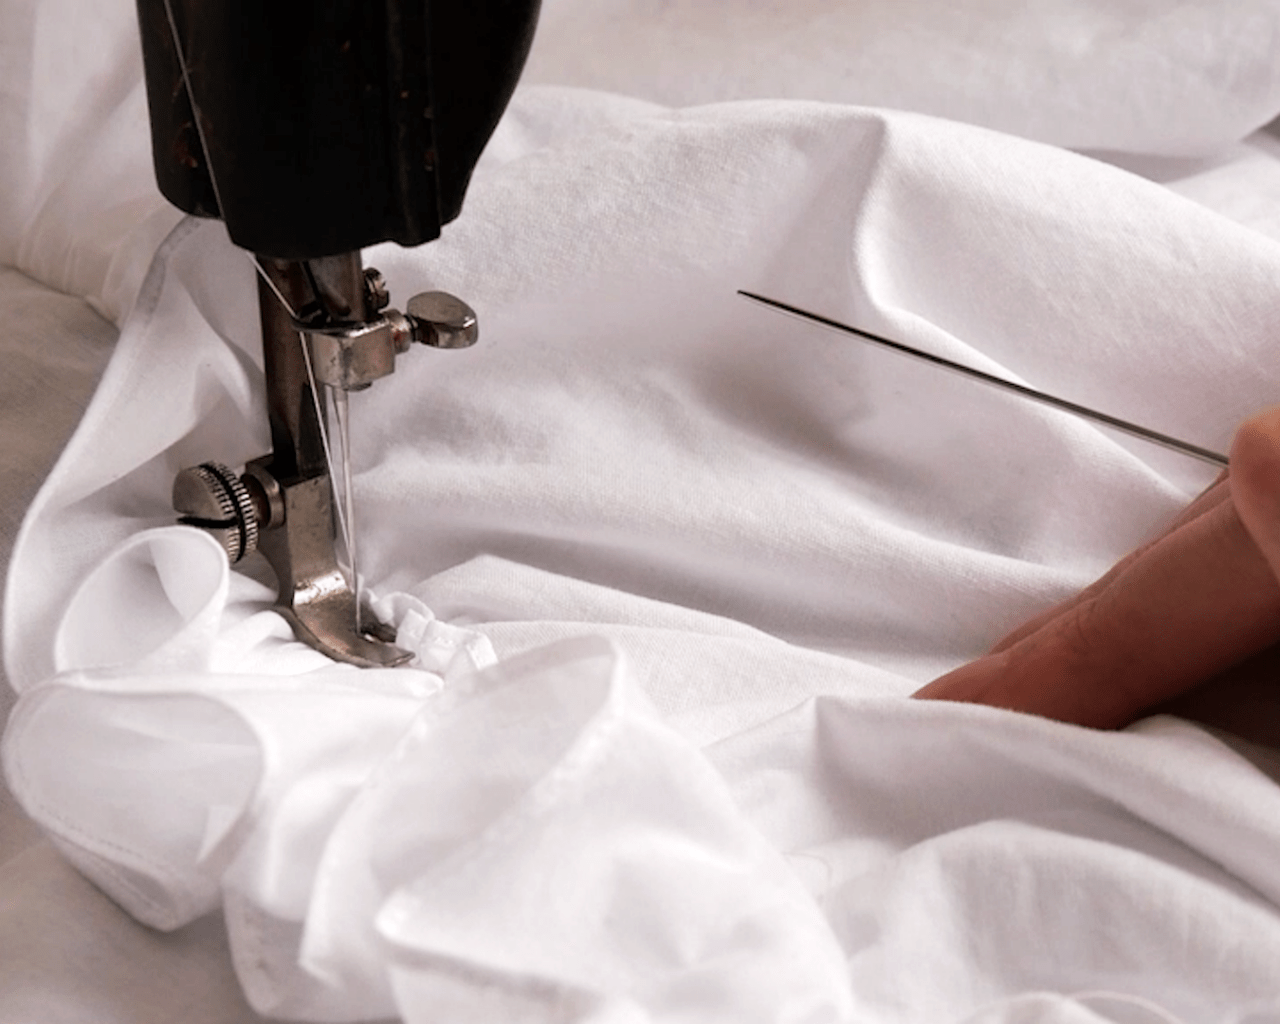
My solution was to just stick some post-its at the two proper distances from the needle of my antique sewing machine. This helped a lot, but was kind of messy…. Nevertheless, this is how I finished most of the seams.
Only the back gathering at the waistband was sewn by hand, since I wanted the gathering to be stroked properly.
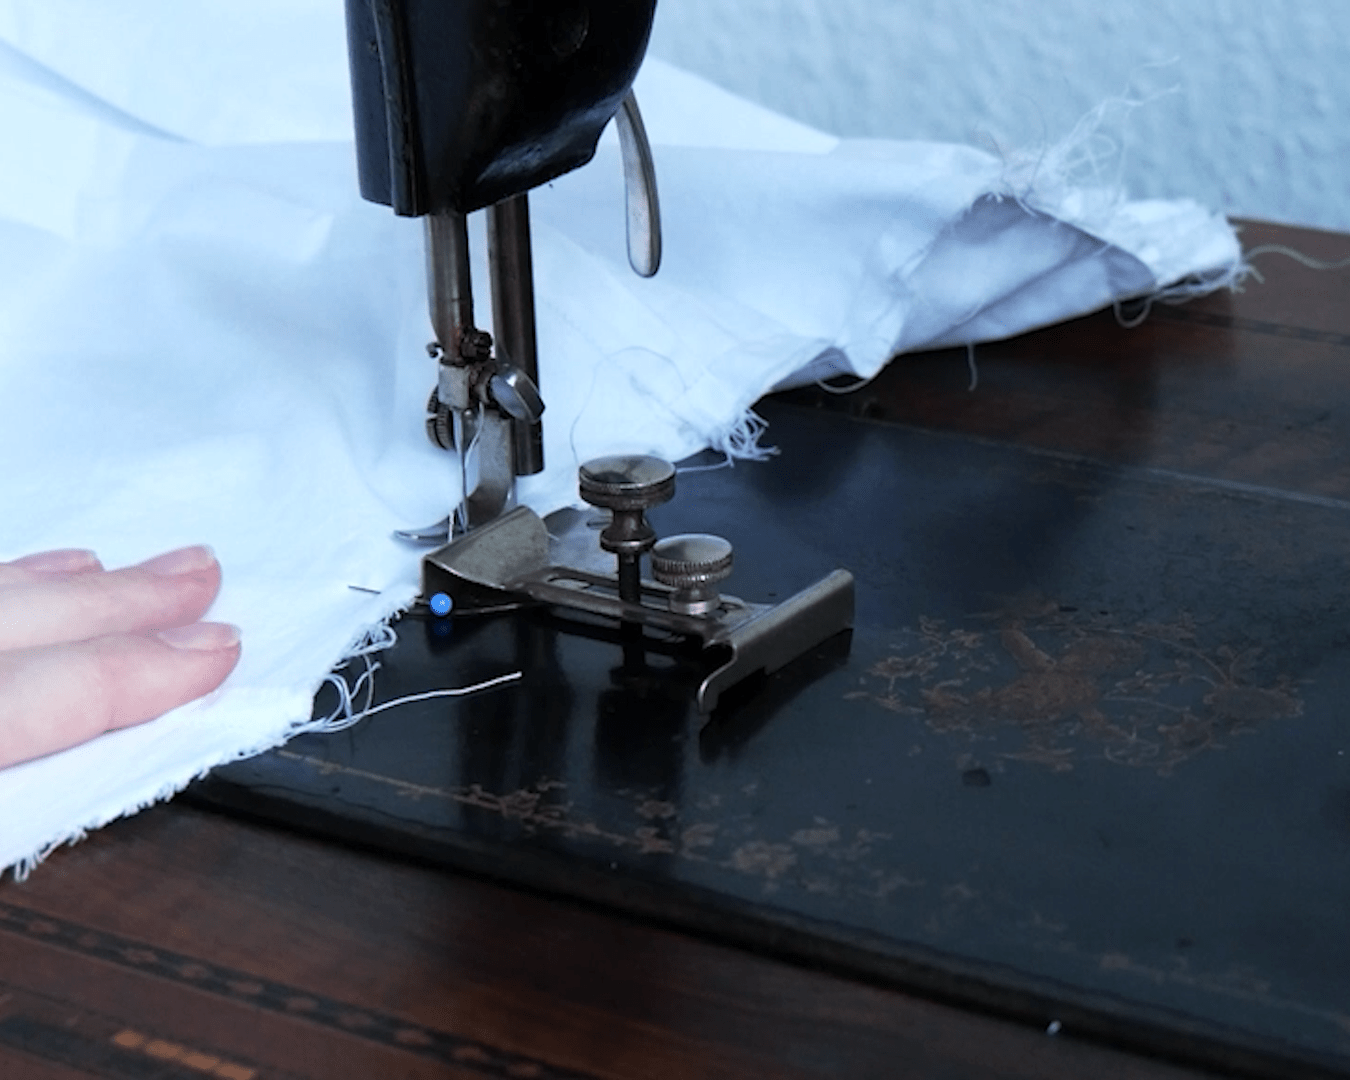
For the seams of the ruffle, I had a new old toy at my disposal: a spacing tool. With its help, one can determine the width of the seam allowance. Apparently, people understood early on that this is a practical function. Fortunately, I had seen a similar device on another old machine and suspected that this might be the function. Thanks to Ebay, I found a suitable one. This way, I can easily keep the correct with for each seam allowance.
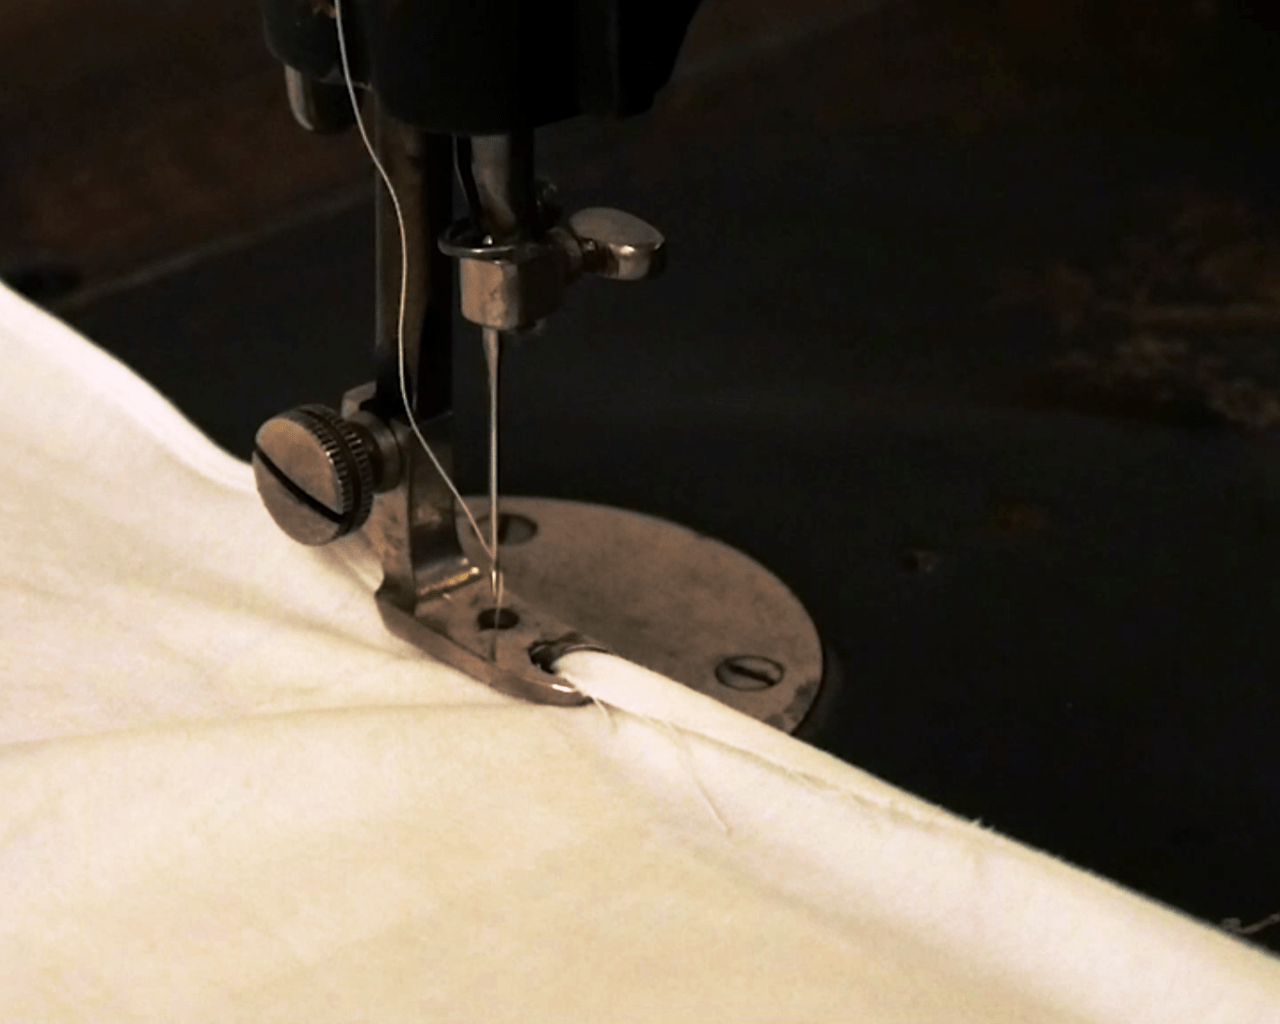

Then I used a rolled hem foot, which was also in my little box, to finish all the hems, even if there are ruffles attached to them. I also sewed the ruffles together first and then finished them with rolled hems.
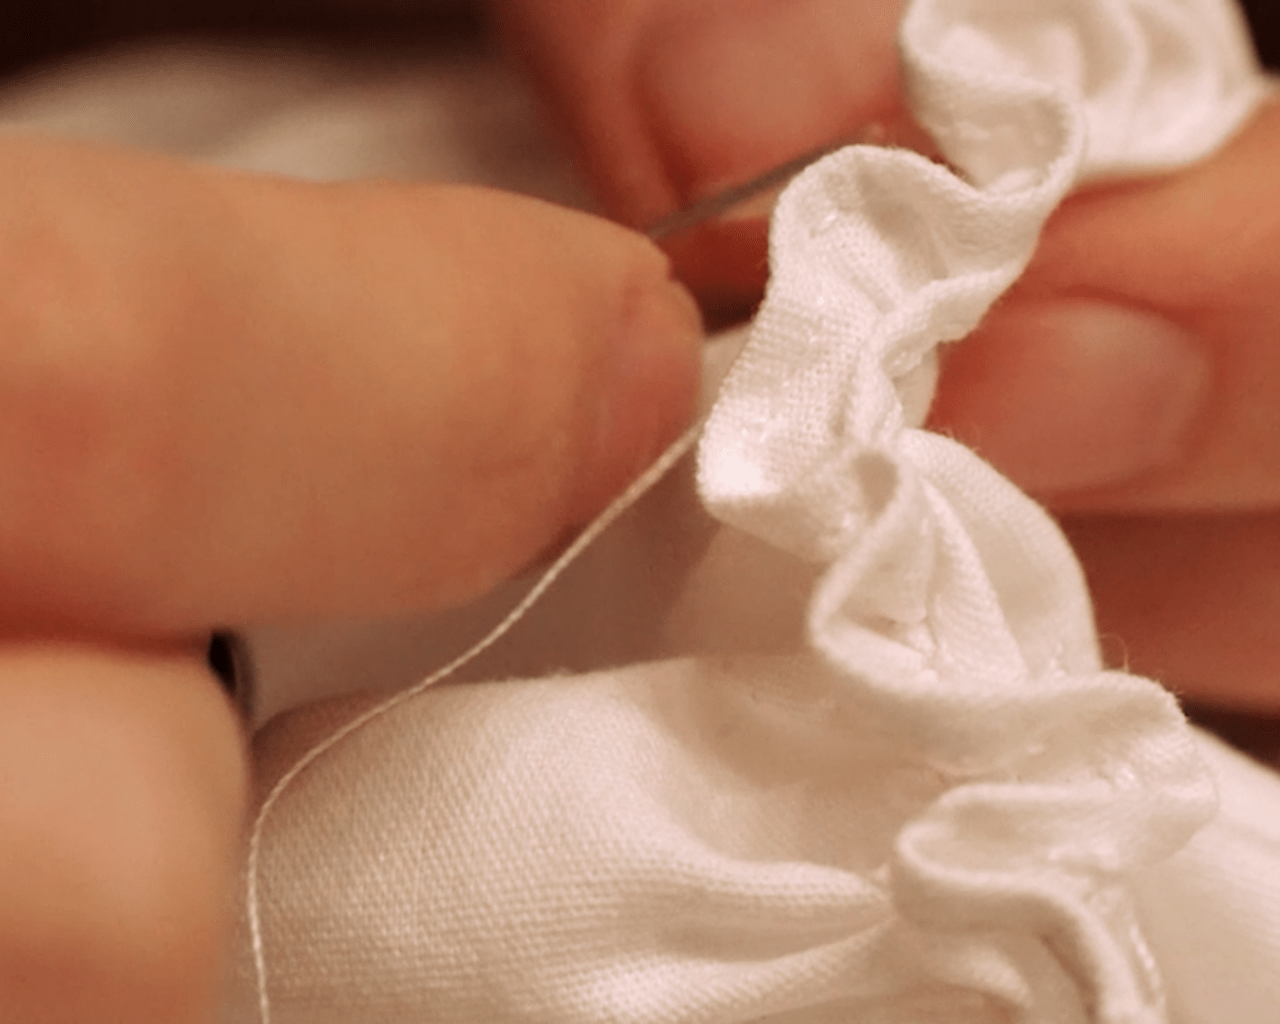
For the gathering of the ruffles, I sewed along one edge of the ruffles with very large stitches using a thread that I can easily see but is not too noticeable if it is not pulled out later. With this, I can then do the gathering relatively quickly. I made sure not to sew longer than 1 m at a time so that it wouldn’t be so bad if the thread broke, and I also cut the ends as long as possible. That way I don’t accidentally pull them out on one side. Then it was time for the gathering itself, and it felt like there was no end…
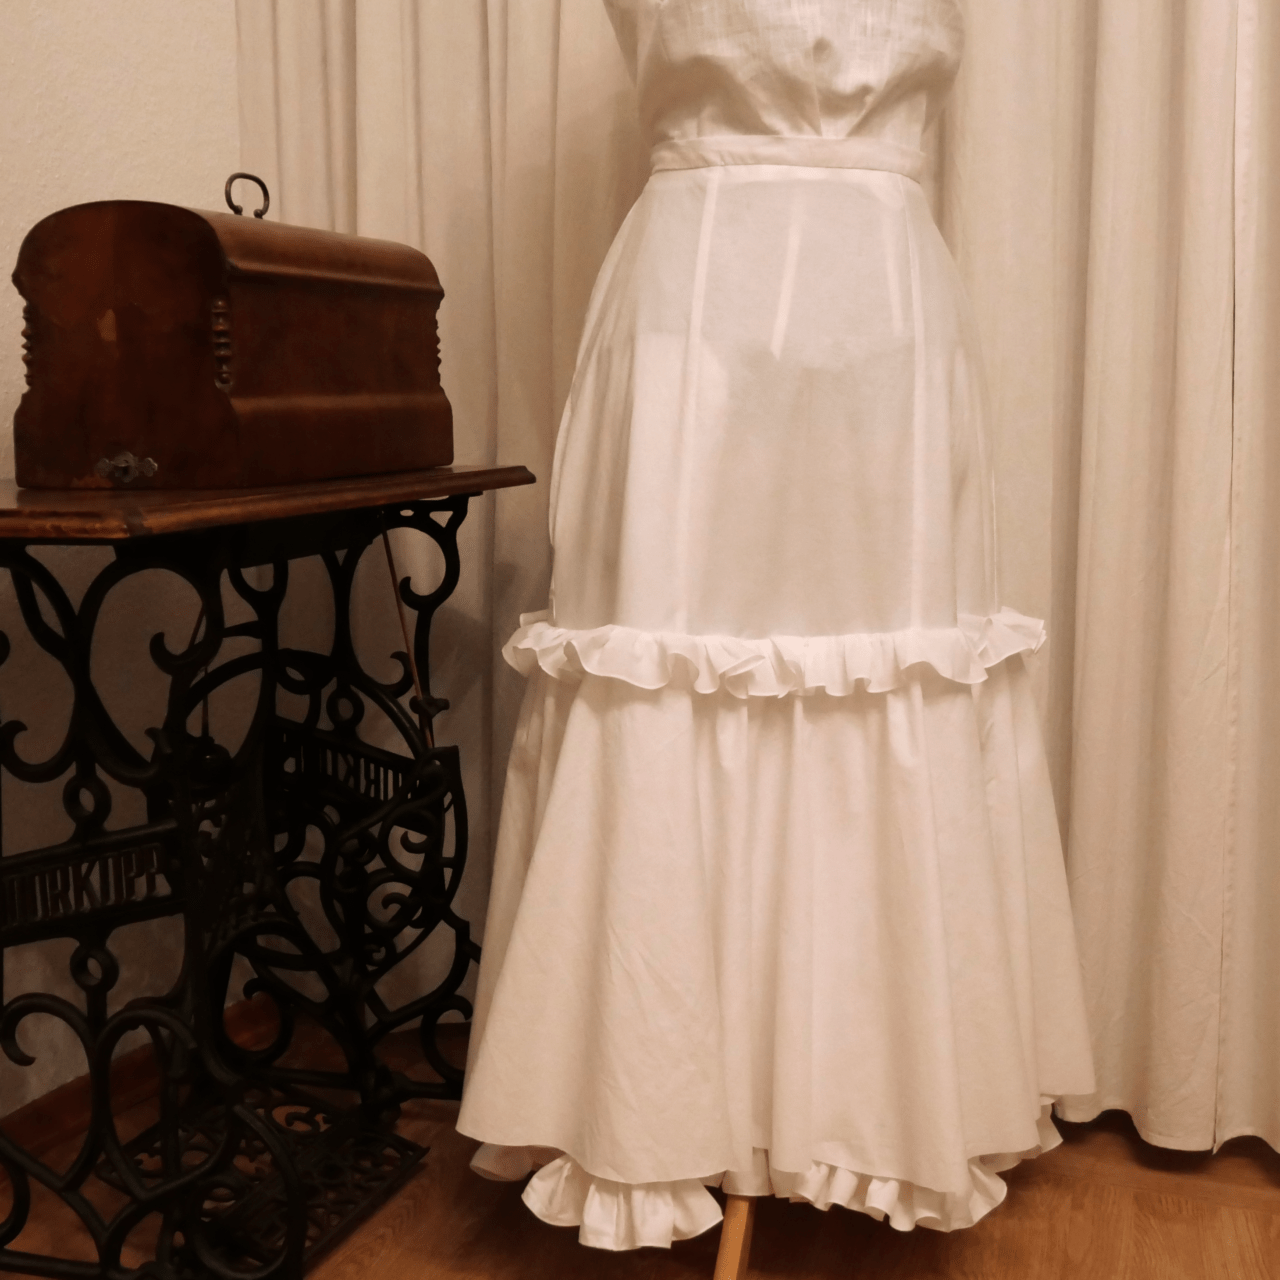
In order to check the ruffles on the skirt, I had to be able to put it on my mannequin. I didn’t have any ribbons to tie it up, so I crocheted some and then sewed them into the waistband. Before that, I had to fell it down, which I did by hand.
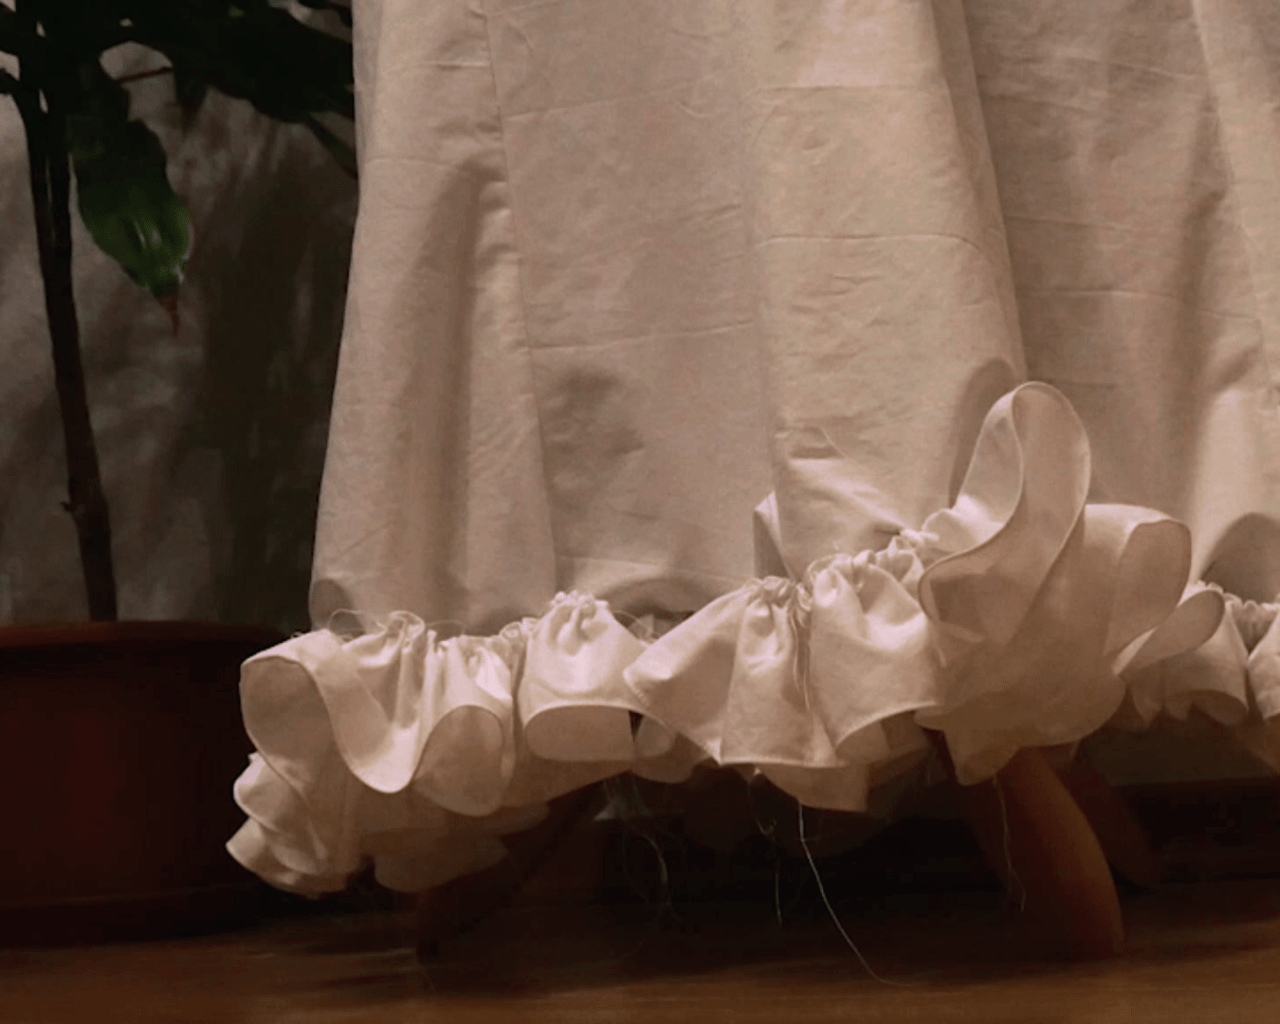

And then I could finally get down to spreading the ruffles around the skirt’s hem.
Agnes Walker writes in her book “Needlework and Cutting Out “[…] The rule for the proportion of the band to the material gathered is that the band should be half the length of the material”.
I had somehow miscalculated the length of the ruffle and couldn’t smooth it out properly nor sew it on with the machine without the seam allowance popping up again and again on the front. So I spent a few hours sewing the dust ruffle on by hand, because somehow I just couldn’t bring myself to shorten the ruffle.
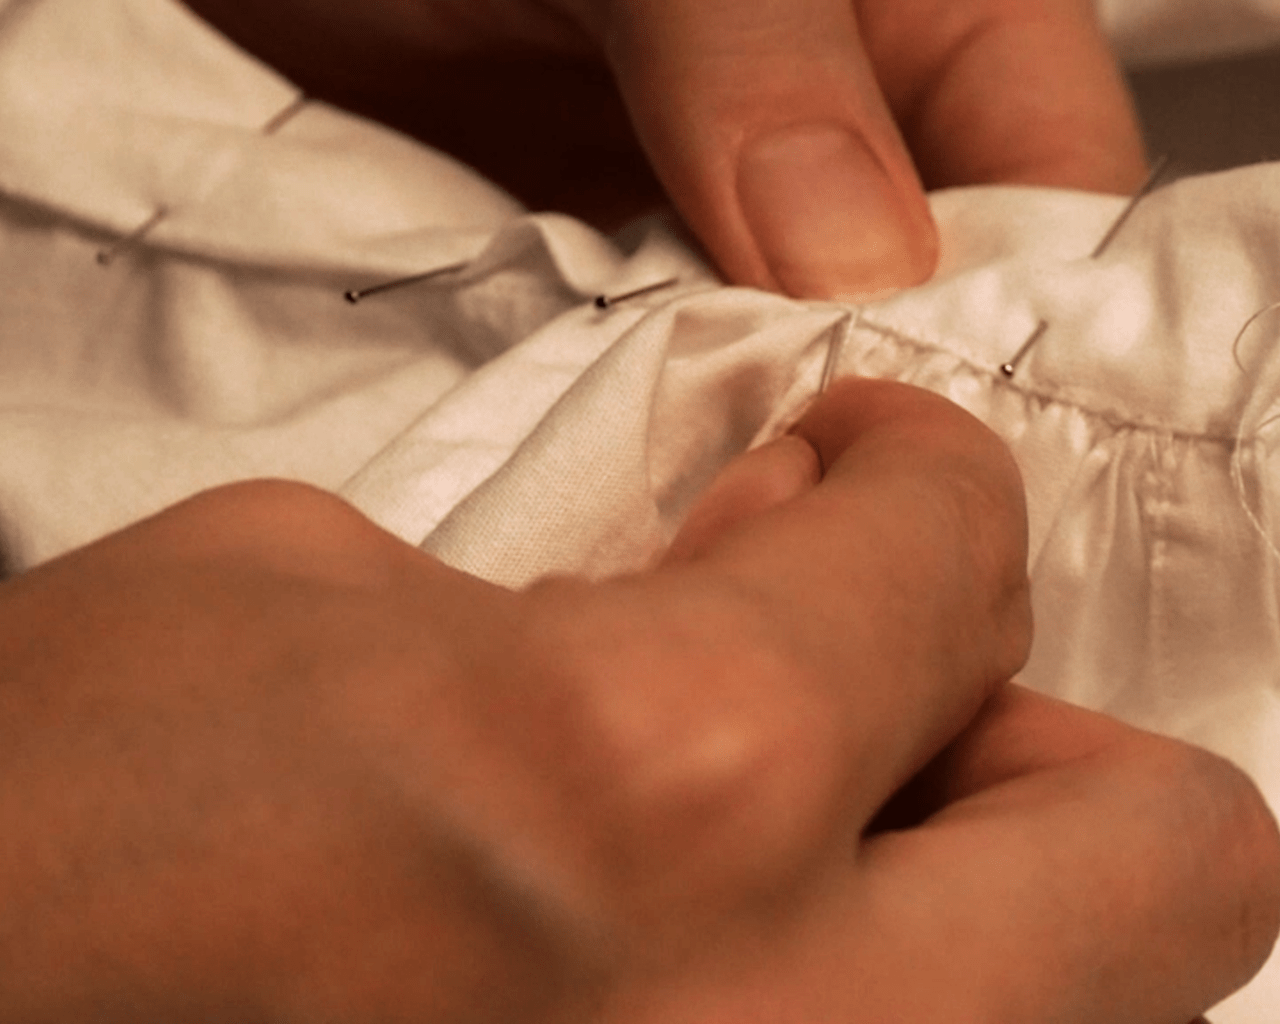
After fighting my way through ruffle heaven, more ruffles awaited, because what is a petticoat without many ruffles? I gathered the flounce by machine just like the dust ruffle and made marks with my folding rule and tailor’s chalk at the wished height for the flounce. I then pinned the ruffle along these marks. Always making sure that the seam allowance facing downwards and therefore later is under the flounce. I sewed the flounce on with the machine and compared to sewing it on by hand, it was sewn in place in no time.
Of course, this was not enough ruffles and I added the last one above the flounce. This one is only a few centimeters away from the previous seam, so that it will later extend nicely over the flounce and the seam underneath will be hidden. This time I smoothed out the ruffles with a knitting needle while I was sewing, which also prevented parts of the seam allowance from being pushed forward under the seam.
Then it was time to add the lace to the flounce of the Edwardian petticoat. But I did not anticipate how long that would take. First, I did not know the chosen technique. I just found some pictures online and really liked the aesthetic. I was actually glad, that I had found the Turkish name “İğne Oyaları”, the only English translation I could find was “Armenian lace”. Due to that, it was rather difficult to find tutorials.
Nevertheless, I somehow managed to understand the basics and make some samples. But pretty soon I realized that the intricate pattern I had fallen in love with, is just above my skill level. So I had to step back and choose one less difficult.

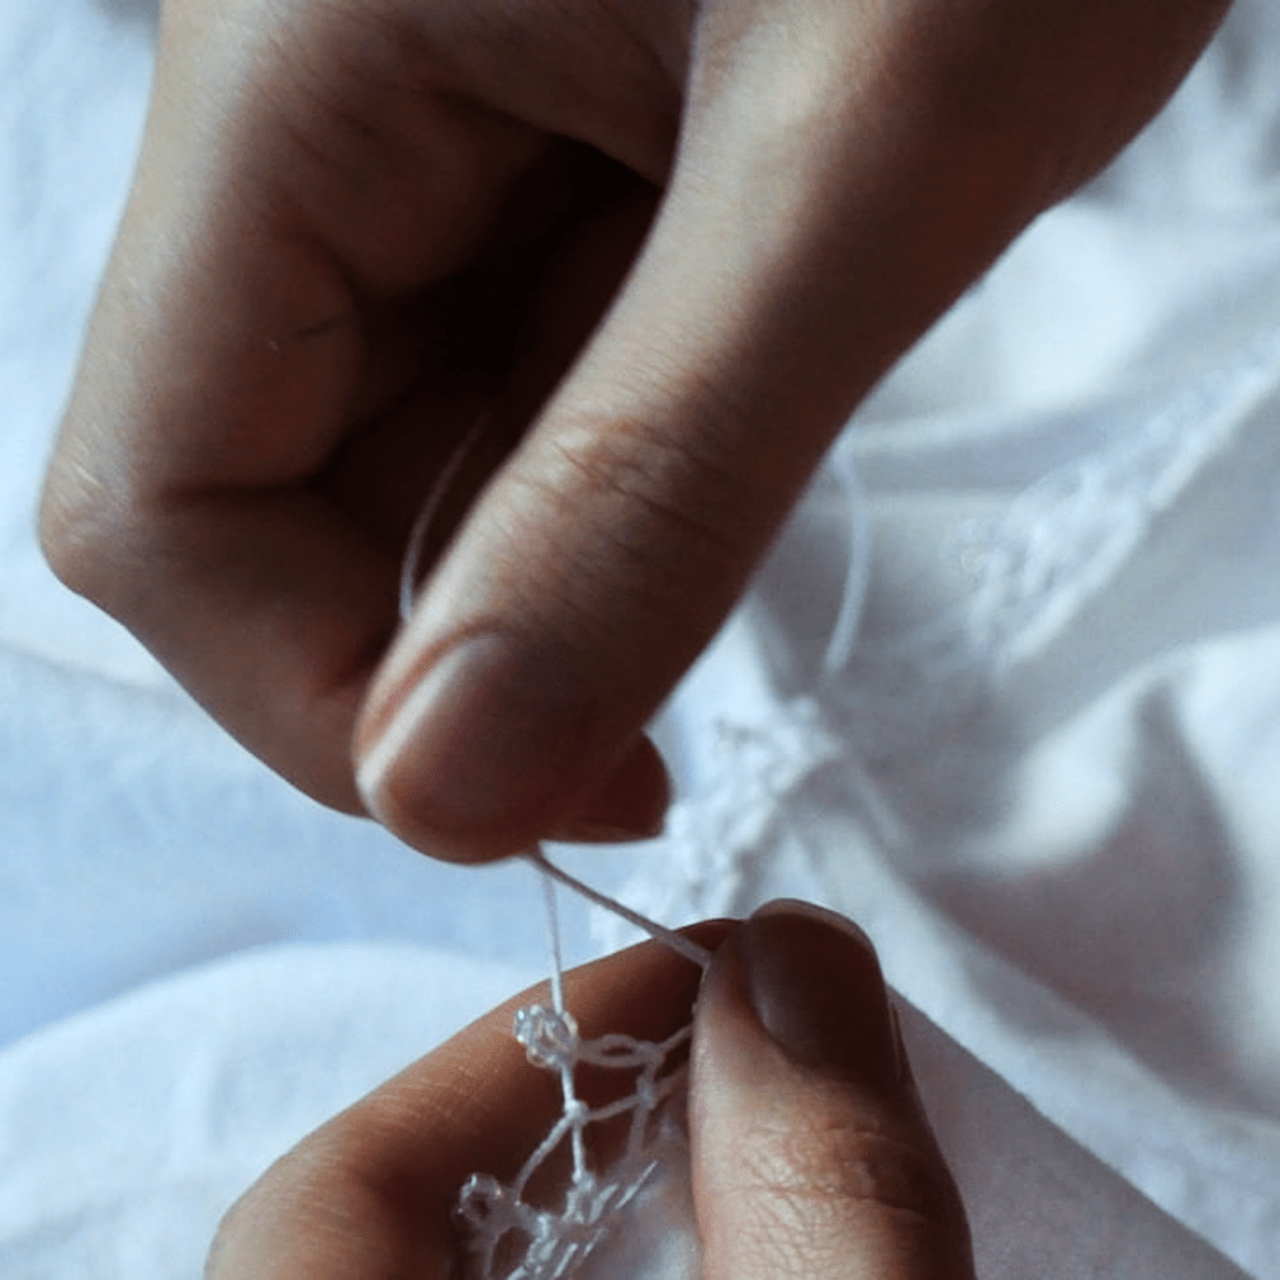
I slowly learned how to place the thread once in front and once behind the needle in order to get those sturdy knots and later on add some pearls for a little glittering effect.
Luckily, I just had enough pearls, there were only a few flawed pearls left, all the rest of the box went into the lace.
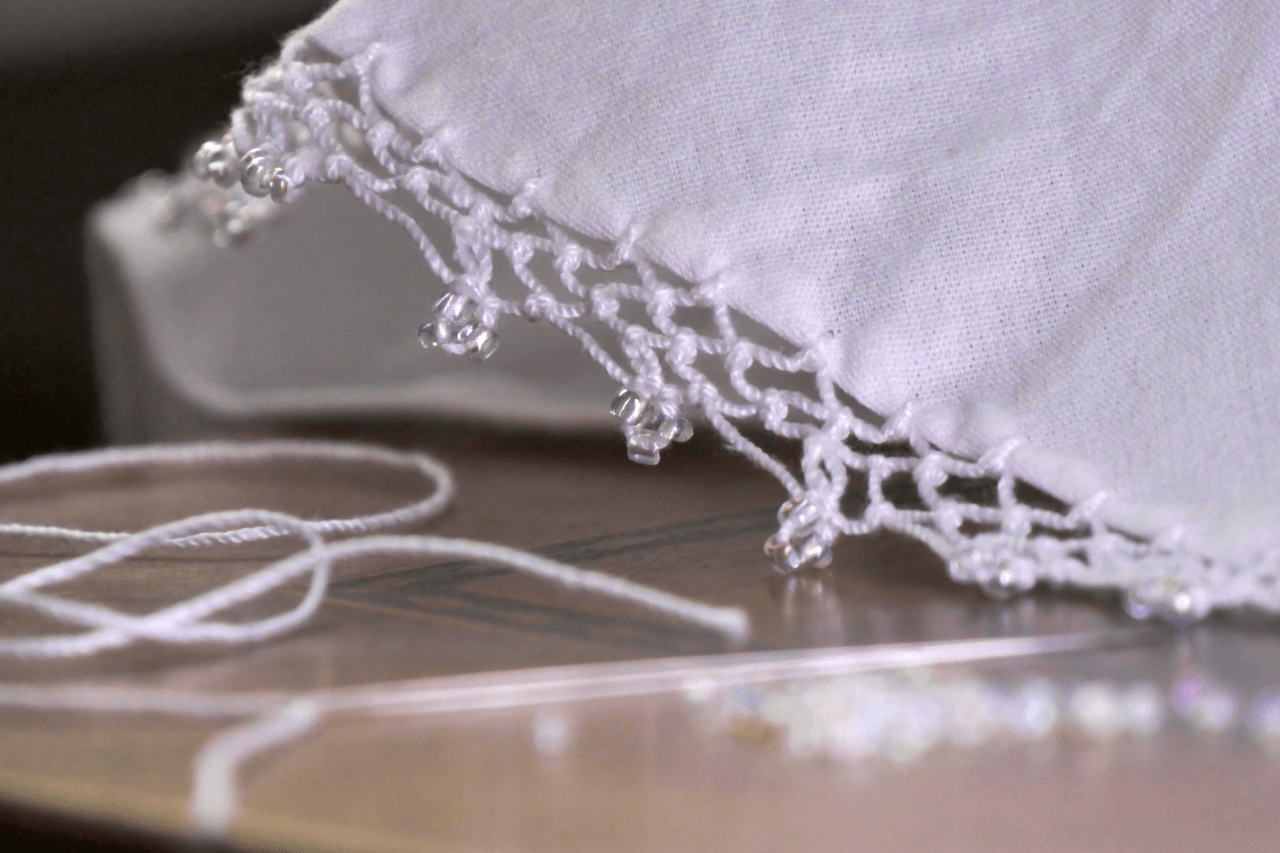
Honestly, I think it’s a quite clumsy lace, but that might be mostly due to the rather chunky thread. Still, I mastered the very basics of this technique and might do another way shorter lace with a far finer yarn one day…
The entire process and a little more of my thoughts are shown in the two videos below:
Material used:
- 4 m white poplin
- White cotton sewing thread
- White Crochet Yarn No. 30
- Transparent Rocailles