While researching late 18th-century fashion, I stumbled upon a digitized yet original tutorial for a Victorian Cycling Sweater. I have been a big fan of the narrow waist and voluminous sleeves of late Victorian fashion for years. Since I was looking for a knitting project, I decided to make this sweater.
The Characteristics of a Victorian Cycling Sweater
Sports and leisure did not become commonplace until the end of the Victorian era, and with that came the need for this type of sweater. The Cycling sweater was equally worn to play golf or tennis. The sweaters were often cream-colored or designed with colored stripes. The knitting patterns used were intended to be visually appealing on the one hand and to stabilize the shape of the sweater on the other.
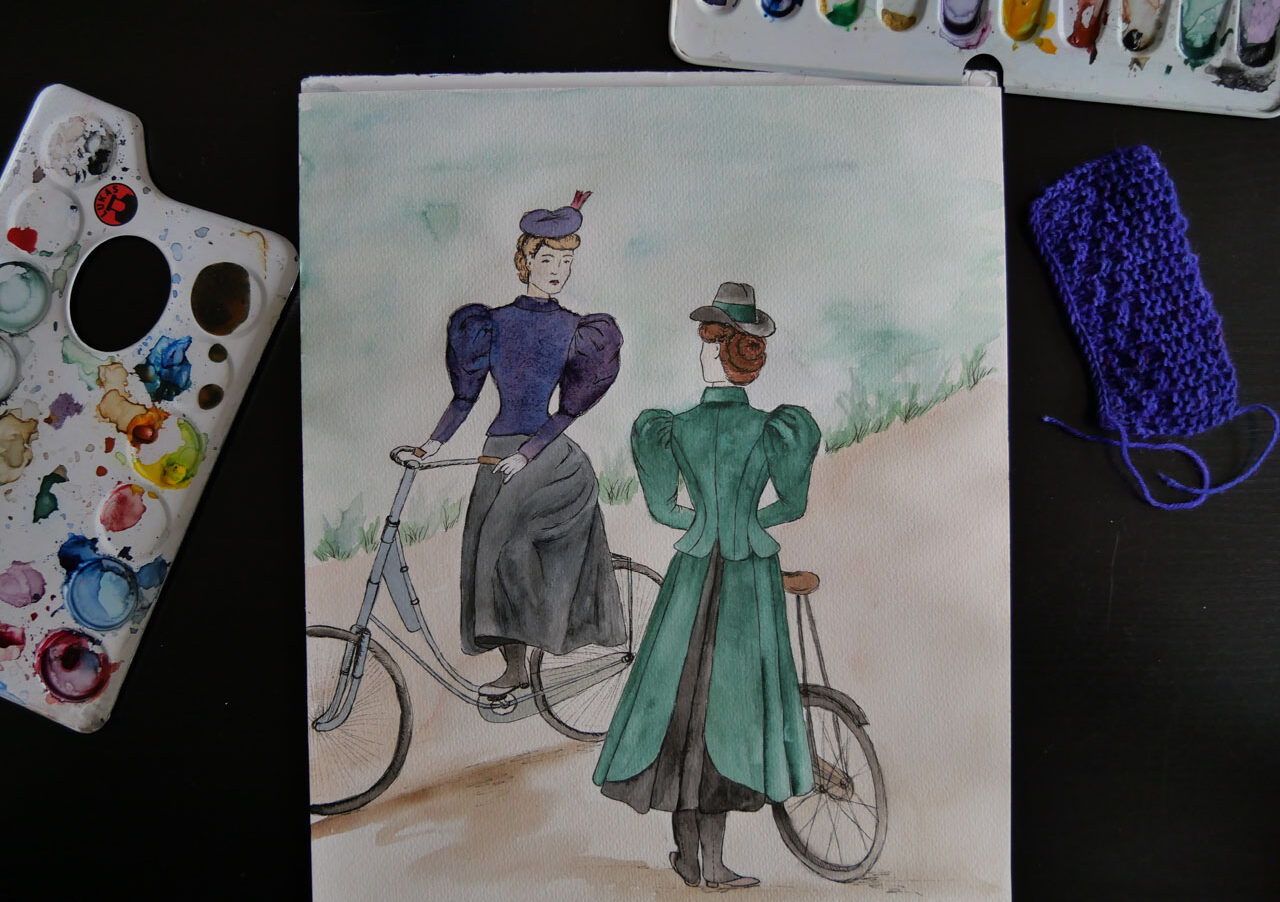
In addition to instructions for hand-knit sweaters, sources are indicating that they were also made by machine. It was important for contemporaries to preserve etiquette and maintain the feminine appearance, including the typical silhouette of the time.1 Most noticeable are the voluminous leg-of-mutton sleeves, with tight sleeves on the forearm, as well as the emphasized narrow waist.
The Instructions for the Cycling Sweater
Thanks to the various digital archives, nowadays it is relatively effortless to find reliable historical sources for the manufacture of clothing. At least as far as late 18th-century fashion is concerned.
In this case, I used the instructions from the 1897 book “Fancy and Practical Knitting”. These instructions also correspond to the Cycling Sweater on display at the Metropolitan Museum of Art.
I followed the instructions as closely as possible, even though this is sometimes difficult due to the difference between then and now specifications for the material used. Instead of using the weight specifications for the yarn, I used a stitch gauge as a guide, and fortunately, the yarn I chose was almost exactly as specified. There were eight stitches per inch specified, and my sample was nine stitches wide.
Another issue that sometimes complicates the recreation of historical knitwear is that very fine knitting needles are no longer readily available for purchase. The instructions specify “fine steel needles” at the waist and the lower part of the sleeves. The slightly larger needles used for the rest of the sweater are No 12 needles, the equivalent of 2mm. So the fine needles are probably 1mm thick.
I’ve searched various stores and online stores for needles of this thickness and have yet to find any. Fortunately, a friend had saved her grandmother’s knitting needles. Among them were 1mm thick needles and she lent them to me for the project. This allowed me to stick to the instructions for the most part, and I only had to make minor changes.
Changes to the Original Instructions
Since my bust measurement of 37 inches does not match the given 34 inches, I calculated the additional stitches needed. The higher number of stitches per inch was also included in my calculation of the stitches to cast on. Unfortunately, I made a calculation error during the first knitting attempt, which I can no longer reproduce. As a result, the sweater was too small.
I did not want to admit this at first, thought the sweater should be figure-hugging and I knitted further up to chest height. At the chest, it became clear that this can not be correct, and the sweater is too small. Therefore, I unraveled the whole work again and in retrospect, I’m glad I did. On the second attempt, I cast on more stitches and also fixed a pattern error I had made in the first version.
The Yarn Used
Thanks to the correction, the newly knit sweater fits much better and, although larger, is still figure-hugging. However, I had to solve another problem. I had decided to use fine hand-dyed merino yarn from my stash and naively assumed that 200g would be enough with such a fine yarn. This was not the case. With the 200g, I was only able to finish the body of the sweater. The leg-of-mutton sleeves so typical of late Victorian fashion need a lot of material. So here too, both sleeves weigh a total of 360g, which is more than the body of the sweater.
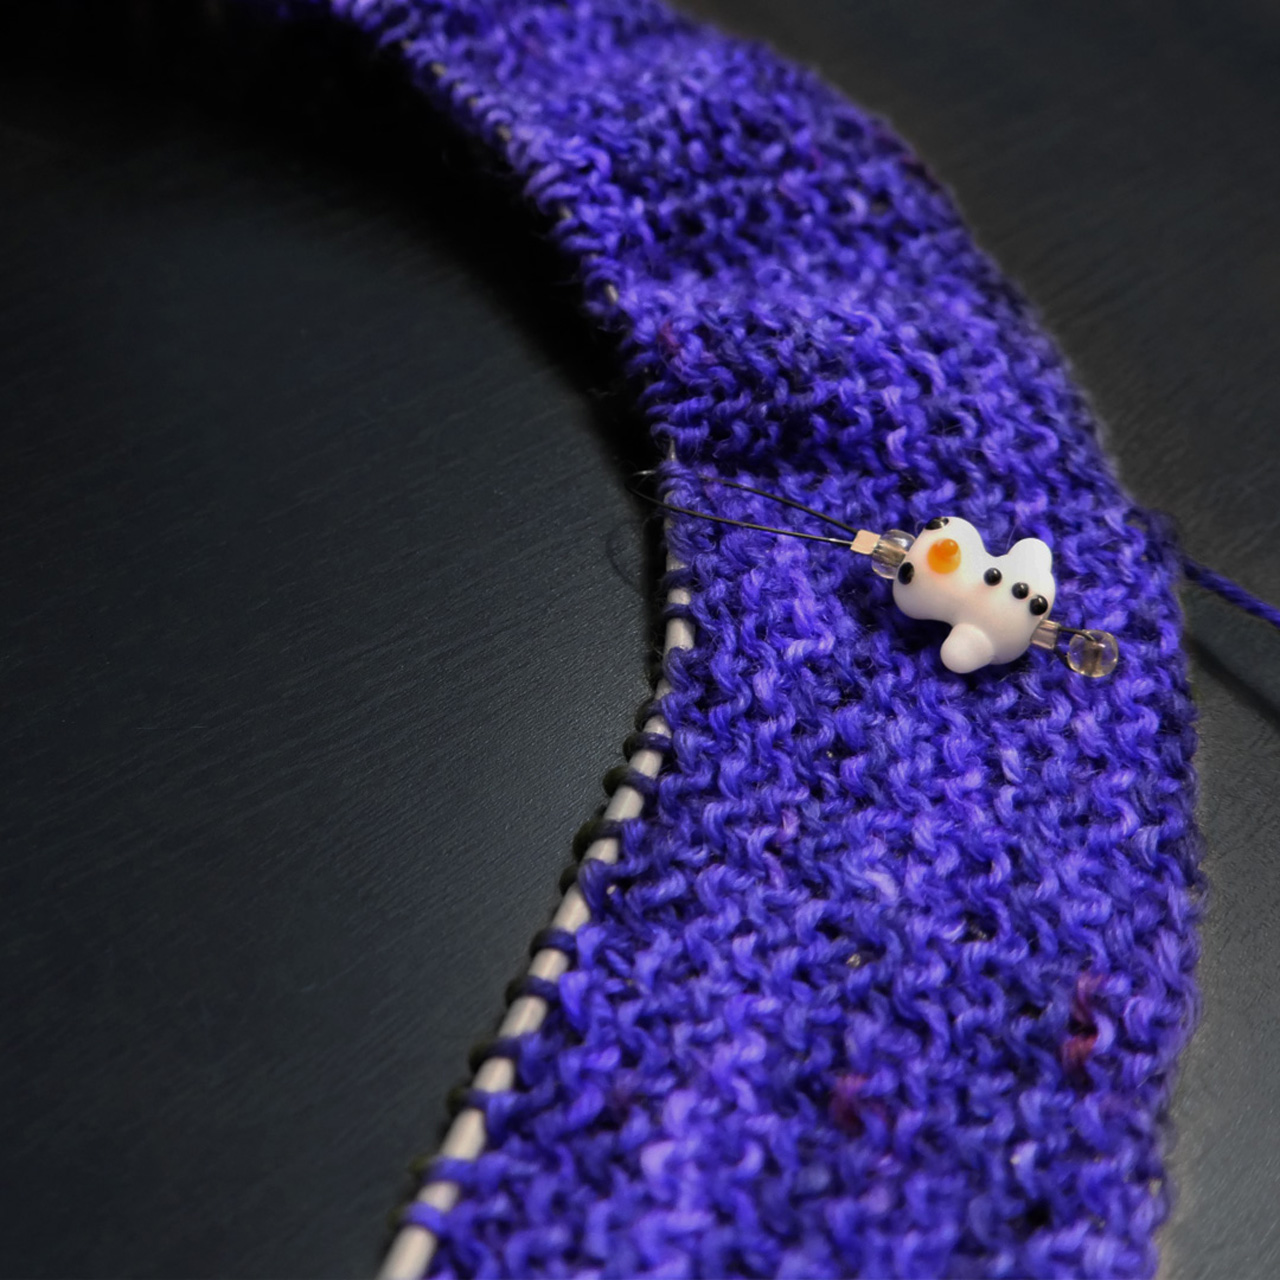
Fortunately, my mother had dyed the yarn and was able to re-dye more skeins for me. (You can find the yarn that I used, in other colors, in my mom’s store.) One aspect of hand dyeing, however, is that dye-lots often differ from each other because the implementation is never identical. As a result, my sweater has slightly different colored sleeves. To keep this from being too noticeable, I added rows of the remaining previous yarn to the upper parts of the sleeves. That way, the transition from the body to the sleeves is smoother and less obvious.
The Realization of the Victorian Cycling Sweater
The ribbed pattern makes the sweater hug the body, and the waist is accentuated by the smaller stitches and thus more stable structure. And this, although the front and back are worked as rectangles without armholes.
This is exactly where I would make a small change if I knit a Victorian Cycling Sweater again. There is a lot of material at the shoulders that makes the sleeves pull down and not sit on the shoulders. This could be changed by adding armholes.
The sleeves are also rectangles, but they taper towards the bottom. At first, this presented me with the question of how these would be attached to the body. But after reading the instructions several times, this became apparent to me. Starting from the center, the top edge of the sleeves is pleaded and placed in the center of the shoulder seam. From there, the side panels are sewn into the armholes and the rest of the sleeve is closed down to the bottom.
This step was not necessary in my case because I knit both, body and sleeves mostly in the round, rather than with open edges. This way I was able to avoid seams, which I find unappealing in knits. While this is not in keeping with historical practice, as circular knitting needles did not exist at the time, this is often where I choose to go with my aesthetic preferences.
My Color Choices for Sweater and Buttons
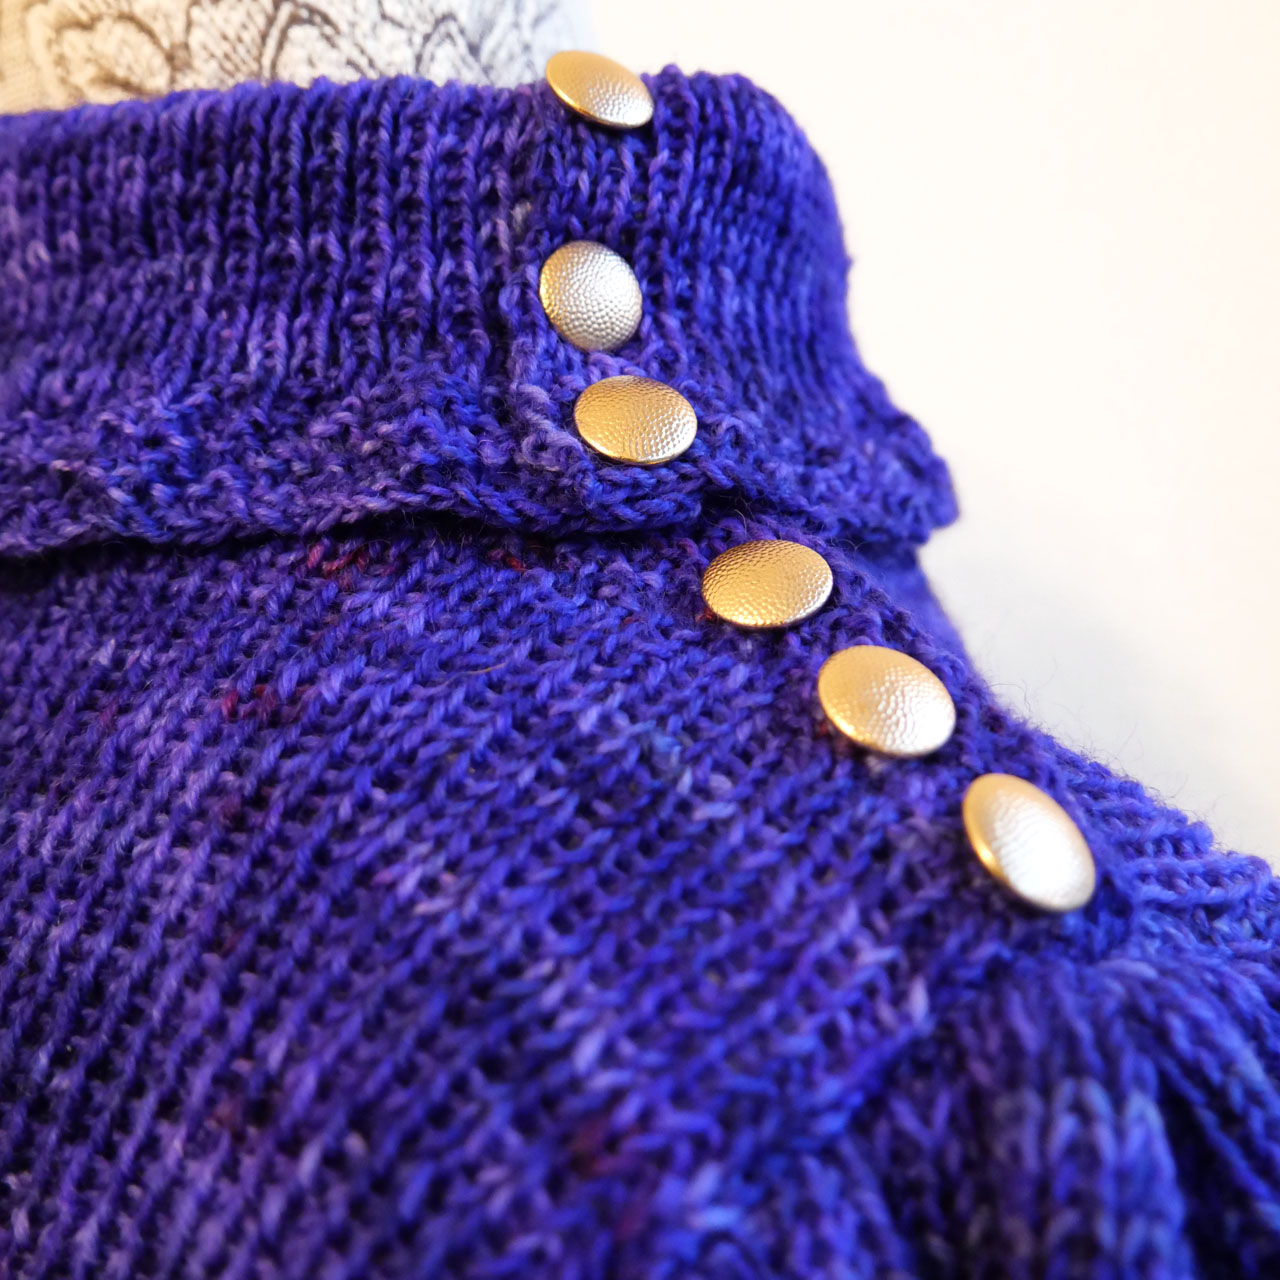
I often make that same decision when it comes to colors. Contrary to what the sources imply, I chose a bright purple as my main color. Mainly because the yarn was in my stash, but also because I find this bright color incredibly beautiful. The brass-colored buttons are little bright splashes of color and complete the picture in my eyes. The combination of purple and gold is meant to be as subtle yet bright as possible.
My Conclusion on the Implementation and Wearing Experience
Overall, I’m very happy with the implementation of the sweater, despite some minor room for improvement. The instructions were easy to follow, although some knowledge of the techniques used is assumed. The steps generally became clear as the implementation progressed.
The sweater is so comfortable that I will probably wear it often in everyday life, because even without a corset it hugs the body tightly, shaping a narrow waist. At first, I thought that the sleeves are heavy and therefore impractical, but since they are tight on the forearm this does not bother me in everyday life.
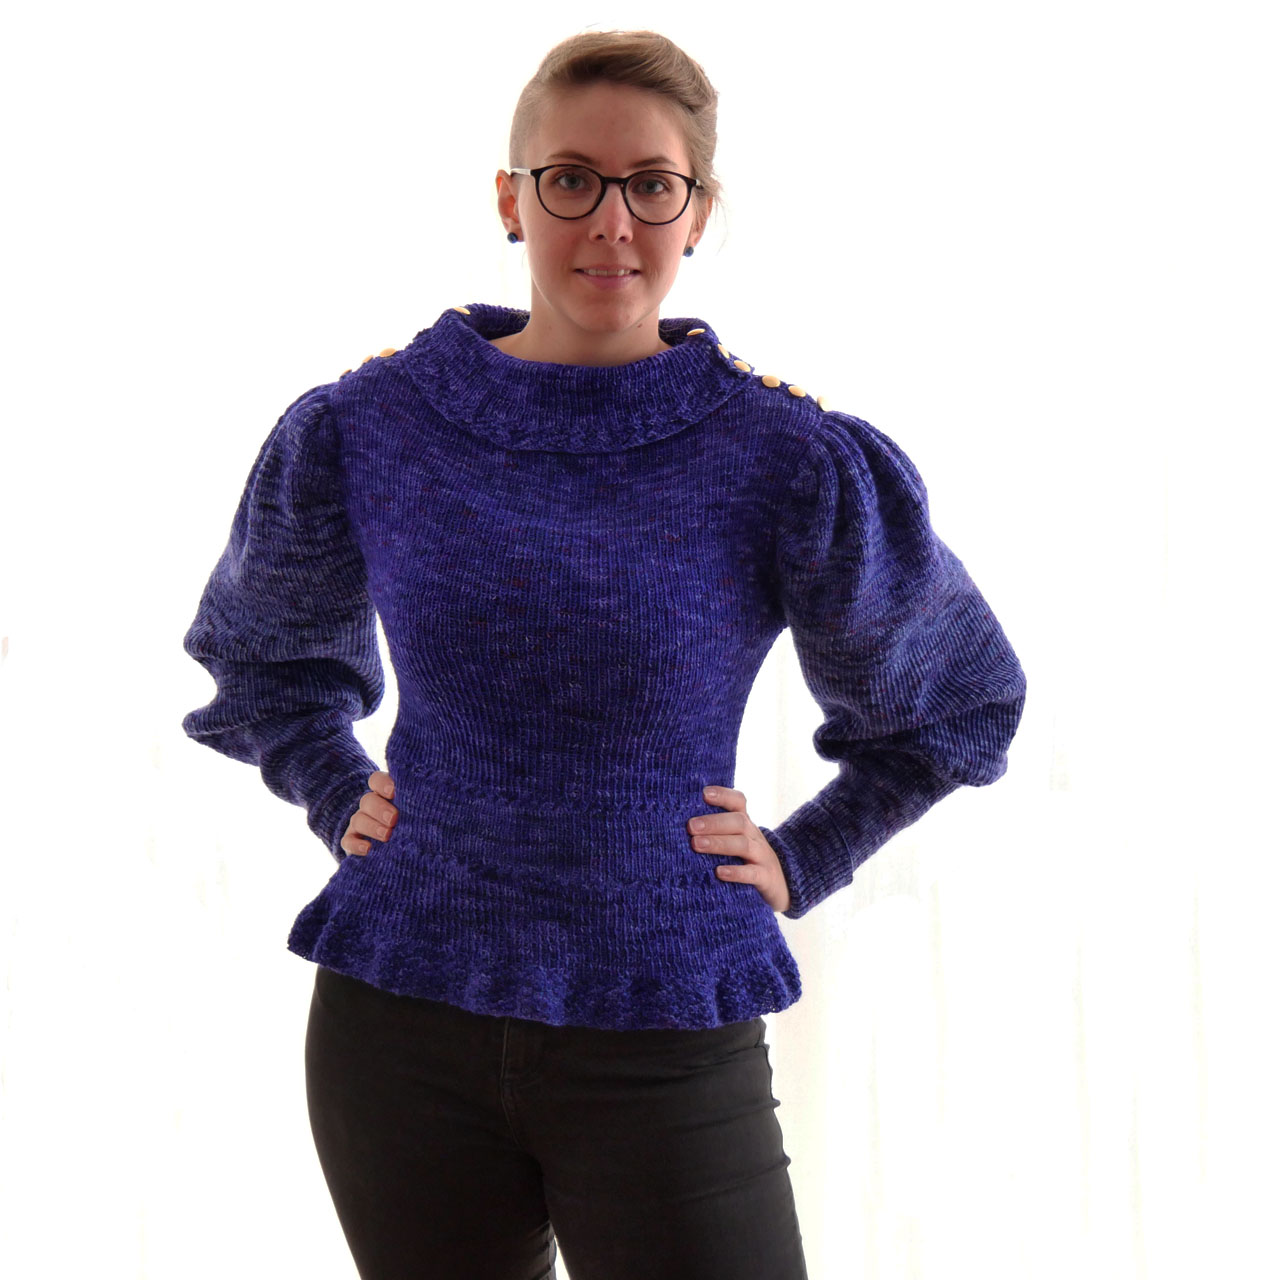
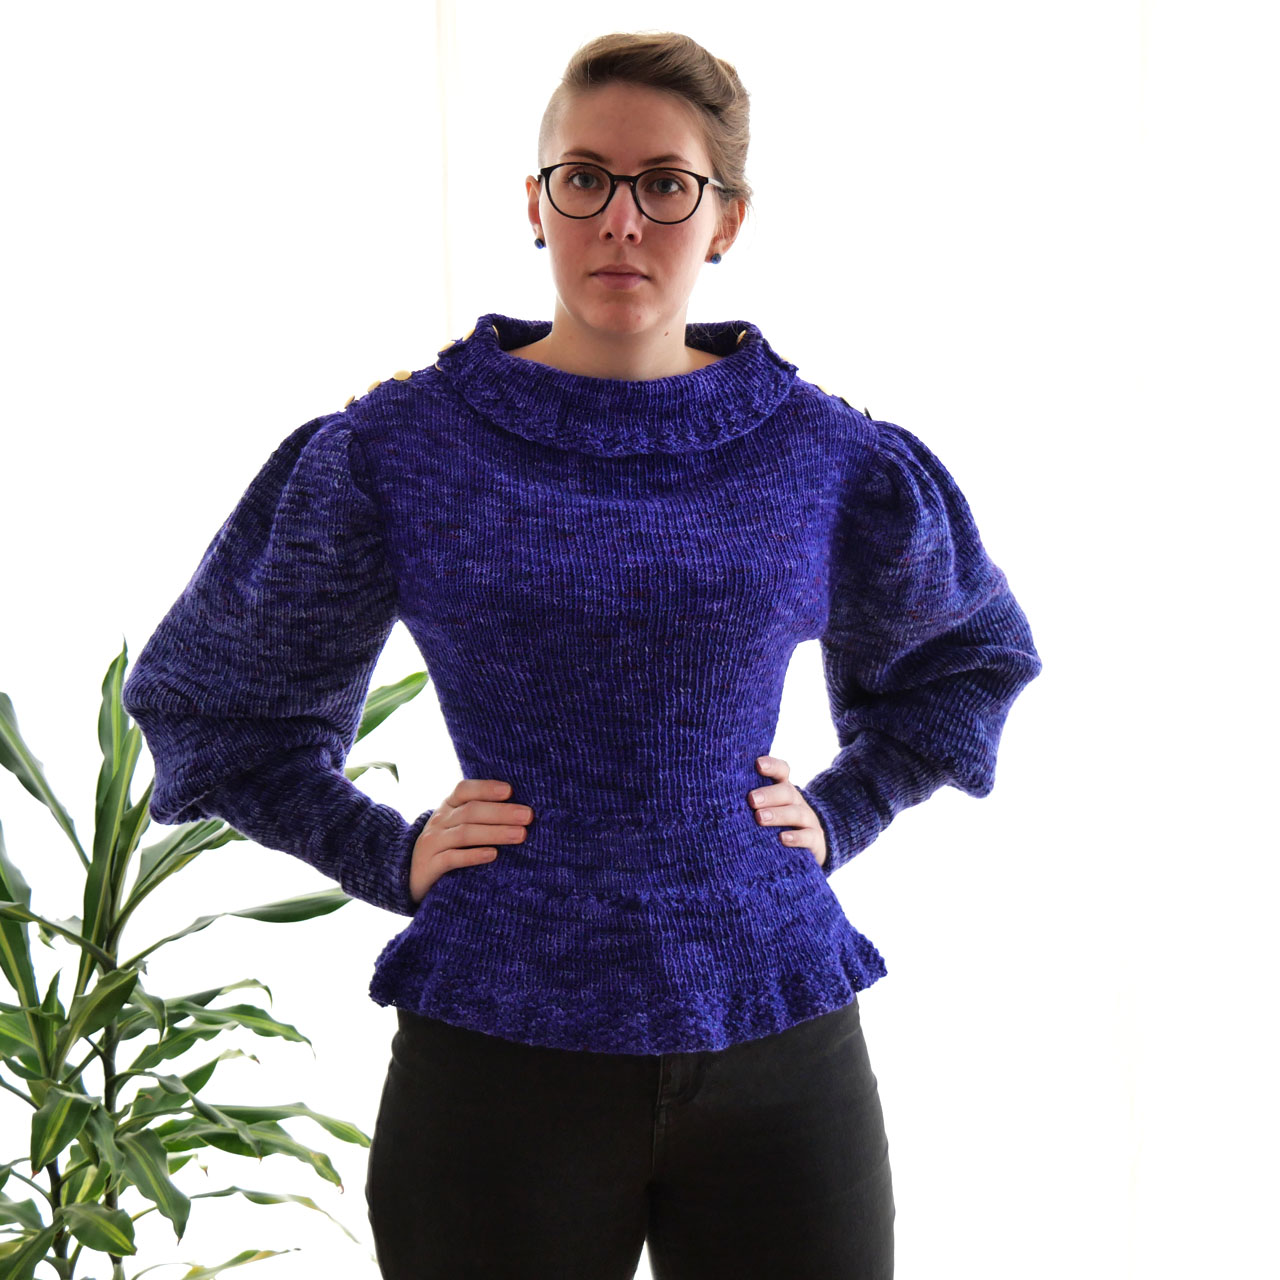
The fine yarn is probably an advantage because it makes the sweater relatively light and does not pull down by its own weight. In some recreations of this sweater, I have noticed that the knit is pulled apart by its weight at the button placket. This is not the case with my sweater, and even though there is a bit too much material at the shoulders. This can possibly be filled in if a bodice is worn over the corset, but I have yet to finish that.
1 Further Sources: Illustrierte Frauenzeitung (German)